Clean the film path, maintenance station, and printhead area. Finish by adding pure water to the cap tops and returning the carriage to its home position.
Step 1. Prepare the Cleaning Materials
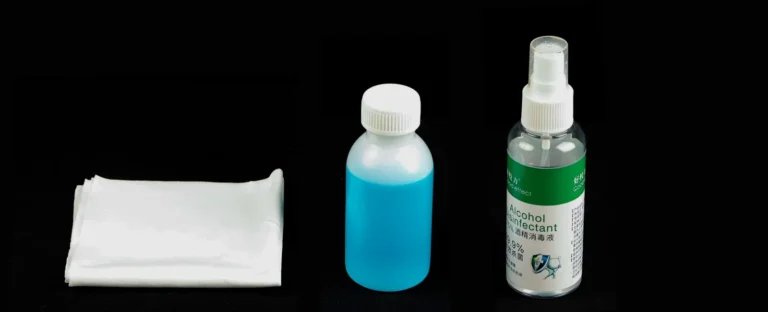
1.1 Prepare dust-free cloth, alcohol spray, and the blue printhead cleaning solution. Also prepare pure water and a syringe with a short tube for the cap tops (See Figure 1.1).
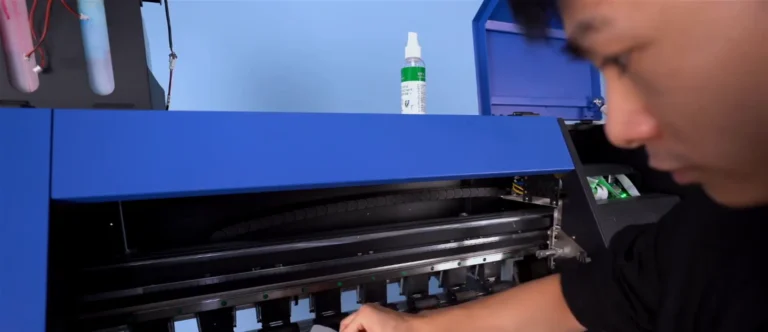
1.2 Open the service covers for access. Switch off the printer before manually wiping components or moving the carriage.
1.3 Spray alcohol onto the dust-free cloth to prepare it for cleaning the film path surfaces (See Figure 1.2).
Step 2. Clean the Film Path and Encoder Strip
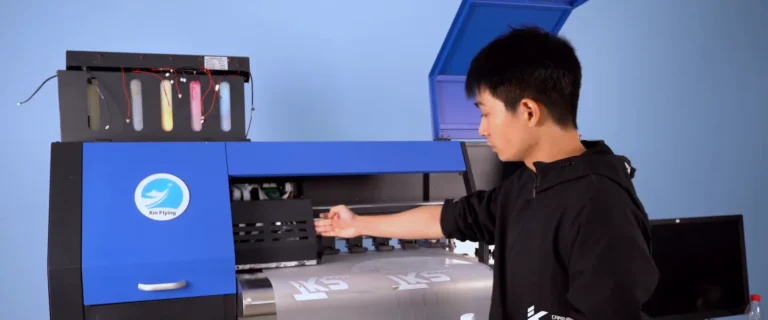
2.1 Wipe the film hold-down clips and printing platform with the prepared cloth to remove surface residue (See Figure 2.1, left).
2.2 Gently wipe the encoder strip along the carriage travel area (See Figure 2.1, right).
Step 3. Clean the Maintenance Station
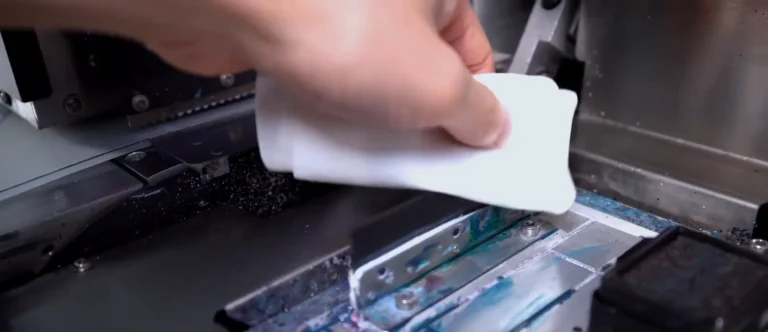
3.1 Use a clean section of the cloth to wipe the wiper blade and remove visible ink residue (See Figure 3.1, left).
3.2 Wipe the maintenance station plate and the cap top rims, cleaning the surfaces around the capping area (See Figure 3.1, right).
Step 4. Clean the Printhead Area
4.1 With the printer switched off, gently push the carriage to the left to access the underside of the printhead assembly (See Figure 4.1).
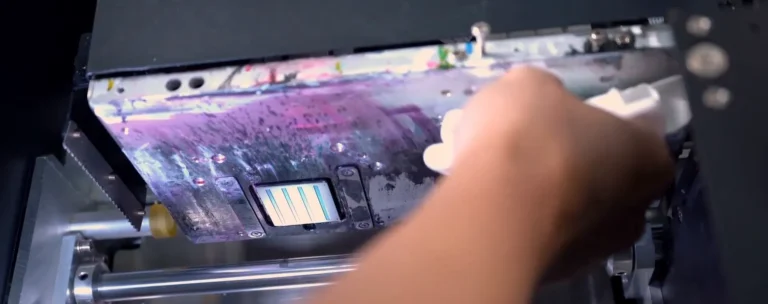
4.2 Moisten a clean dust-free cloth with the blue printhead cleaning solution (See Figure 4.2, left).
4.3 Gently wipe the printhead area and the surrounding underside plate from top to bottom (See Figure 4.2, right).
4.4 Return the carriage to its home position and switch on the printer.
Step 5. Moisten the Cap Tops and Return Home
5.1 Use the Left control to move the carriage away from the cap tops. Let the carriage stop before accessing the maintenance station (See Figure 5.1).
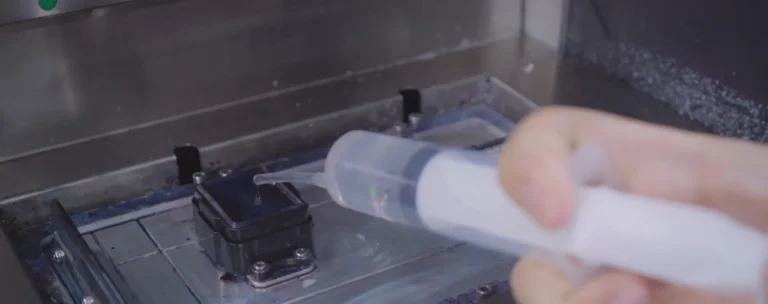
5.2 Draw pure water into the syringe. Dispense it slowly into each cap top, keeping the water below the rim to prevent overflow (See Figure 5.2).
5.3 Use the carriage controls to return the carriage to its home position over the cap tops (See Figure 5.3).