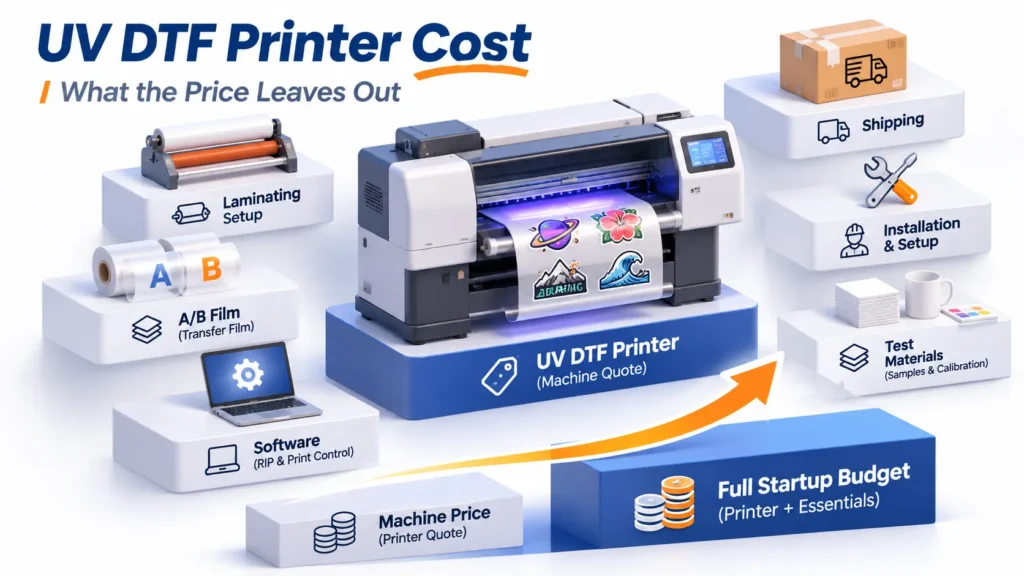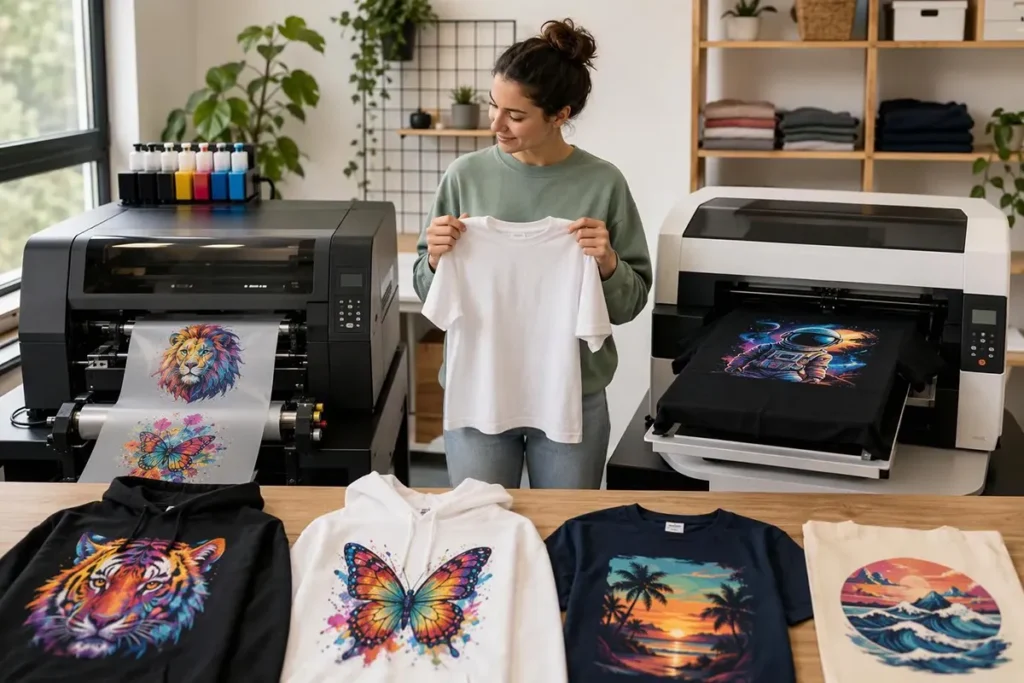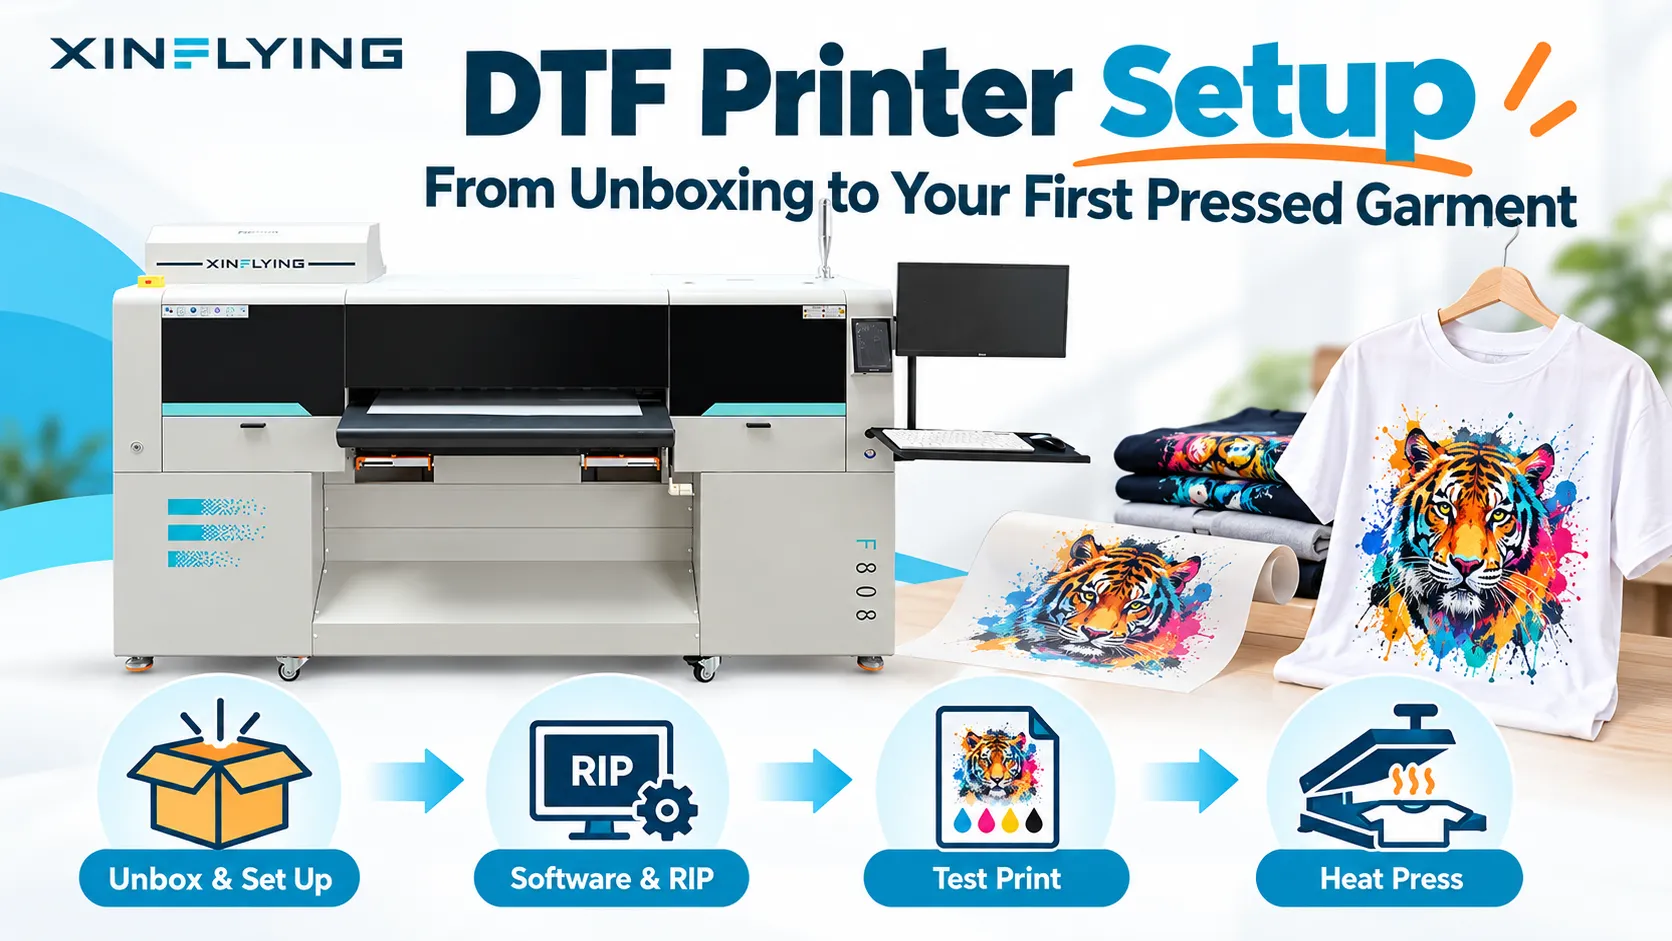
A complete DTF printer setup connects unboxing, machine and software configuration, the first print, and finished-garment verification. Prepare the workspace and materials first, complete commissioning according to your model’s manual, and run an actual order graphic through the full transfer workflow. Setup is only finished when the equipment produces an accepted shirt and the operator can repeat the job.
This guide covers textile DTF equipment. Because power-on order, ink priming, and calibration steps vary by machine, follow the exact documentation supplied with your printer model.
What Equipment and Materials Do You Need for a DTF Printer Setup?
Missing one downstream tool or software license will stall your first order even if the printer arrives on time. Before starting a DTF printer installation, verify that every item from artwork prep to garment pressing is on site.
| Item | Role in the Workflow | What to Check Before Delivery |
|---|---|---|
| DTF printer and stand | Prints CMYK and white ink onto PET film | Uncrated dimensions, weight support, and level placement |
| Computer, control software, RIP, cable, and license | Prepares artwork, builds the white layer, and drives output | Supported OS, data cable type, and license key or dongle |
| Ink, PET film, adhesive powder, and maintenance supplies | Forms the transfer, adhesive bond, and daily printhead care | Printhead compatibility, labels, shelf life, and instructions |
| Manual curing unit or inline powder shaker-dryer | Applies and melts adhesive powder onto wet ink | Whether your quote uses manual curing or an inline unit |
| Heat press, test garments, and cutting/pressing tools | Presses the cured transfer onto fabric | Platen size, seam clearance, and blanks matching real orders |
| Extraction and protective gear | Manages curing fumes, loose powder, and chemical contact | Equipment exhaust rules and product Safety Data Sheets (SDS) |
Planning a DTF printer setup for beginners depends on whether you use manual powdering on a desktop unit or an inline shaker-dryer on a roll-fed printer. Manual workflows need a powder tray, a separate curing oven, and table space to handle wet film without smearing ink. Inline units automate powdering and curing as the film advances, so you do not need to buy a second standalone curing oven.
Check your budget across the entire workflow rather than the printer price alone. Confirm which downstream units, licenses, and starter supplies are included in your order.
Prepare the Workspace, Power, and Ventilation First
Most setup delays happen before unpacking—when a doorway is too narrow, a circuit trips under heater loads, or curing fumes lack extraction. Prepare the room and utilities before loading ink so each unit goes straight into place.
1. Delivery Path and Shop Floor Layout
Check crate and machine dimensions against every doorway, hallway turn, and elevator along the delivery route. Arrange moving tools and helpers before the carrier arrives.
Arrange stations in workflow order: printing, powdering and curing, cutting, and heat pressing. Leave space around the printer for loading film rolls and reaching maintenance parts, and leave clearance around the heat press for the platen to open, swing, or pull out.
2. Check Power Requirements on Each Machine’s Nameplate
Never assume that because the printer uses a standard outlet, the dryer and heat press can share that circuit. A complete DTF printing setup combines low-draw printer electronics with high-draw heating elements.
Check the nameplate specs for each machine separately before delivery:
- DTF printer: Rated voltage, power draw, plug type, and grounding.
- Powder shaker-dryer or curing oven: Voltage, heating wattage, breaker rating, and wiring method.
- Heat press: Voltage, amperage, and dedicated circuit needs to prevent voltage drops.
Have a qualified electrician verify circuit capacity and grounding. Do not treat a basic power strip as outage protection or voltage regulation; match any UPS or voltage conditioner to the exact load of the machine.
3. Environment, Powder Containment, and Heating Extraction
Keep the printing area clean, monitor room temperature and humidity against your printer manual, and store film, ink, and powder sealed away from heat and dust. Separate the printer as much as practical from loose powder and garment lint.
Read the Safety Data Sheet (SDS) for the exact ink, powder, and cleaning solution you use before starting work. As the CCOHS guide to Safety Data Sheets explains, an SDS outlines product hazards, safe handling and storage, and exposure controls. Follow your consumable SDS and machine manual to set up curing extraction and protective gear, and never judge safety by mild odor or invisible smoke.

From Unboxing to First Print: Initial Machine and Software Setup
Once the workspace is ready, complete mechanical checks, software setup, consumable loading, and calibration in order. The subsections below organize the inspection tasks; follow your model’s manual for the exact sequence of powering on, priming ink, and installing software.
1. Inspect the Shipment, Accessories, and Shipping Locks
Compare the model, serial number, and accessory boxes against your packing list, and photograph any transit damage or missing items immediately. Assemble the stand and media holders, remove all shipping brackets and carriage locks per the manual, and have designated personnel verify critical connections before moving ahead.
2. Set Up Control Software and RIP, and Verify Connection and Licensing
Learning how to set up a dtf printer is clearer when you separate the two software tasks. RIP software processes the graphic—setting size, mirroring, white underbase, and color profiles—while control software manages hardware motion, nozzle checks, and job output. Some configurations integrate both functions, so check what your printer uses rather than assuming you must buy two separate programs.
Confirm the supported operating system, drivers, cable or network connection, license dongle or key, printer model selection, and media profile. Verify these before printing so jobs do not route to the wrong output device.
3. Prepare Matched Consumables and Load the Film
Use matched DTF inks, PET film, and adhesive powder along with approved cleaning supplies. Confirm the printable coated side of the PET film and load it straight along the feed path. Follow your printer manual for ink preparation, without copying ink-shaking times or priming steps from other machines.
4. Run Nozzle, Registration, and Film-Feed Checks
Verify three hardware checks before running production files:
- Nozzle check: Confirm all CMYK and white channels fire cleanly without missing lines.
- White-to-color registration: Check alignment so the white underbase sits behind the color layer without white edges peeking out.
- Film feed: Confirm the film advances smoothly without skewing, wrinkling, or rubbing the printhead.
Save the check prints for your records and fix any dropouts or feed issues before moving on.
5. Prepare the First Test Graphic in the RIP
Set up one test graphic containing solid color blocks, fine text, gradients, and small white details at real order size. In the RIP, check dimensions, horizontal mirroring, white layer settings, print mode, and the matching media profile—without treating a fixed DPI or ink limit as a universal default.

Complete the First Transfer Sample Using the Same Artwork
A sharp print on wet film can still fail on a shirt if curing or pressing is off. Run the same test graphic from printed film to finished garment to verify the entire line.
1. Inspect the Printed Film First
Check the printed film for even white coverage, crisp fine text, clean white-to-color registration, no banding, and steady film tracking. A nozzle strip only checks individual jets, whereas a real graphic tests ink delivery and alignment across a full design.
2. Powder, Cure, and Trim the Transfer
Apply powder evenly to the wet ink, shake off excess powder from clear film margins, and cure according to your material and equipment guides. Note that a powder’s SDS melting point is not the curing unit’s temperature setpoint. Because powdering and curing are separate from printing, check this stage before changing RIP settings.
3. Press, Peel, and Finish on a Real Garment
Check design placement, usable platen area, and garment seams before pressing. Follow your specific transfer material’s instructions for temperature, time, pressure, peel method, and any required finishing press; see our guide on how to heat press DTF transfers for pressing details.
4. Evaluate the Finished Garment and Record the Setup
Inspect the cooled garment for placement, flat edges, white and color clarity, hand feel, and visible defects. Save the artwork file, consumables list, and machine settings so operators can repeat the result. Keep in mind that a first-shirt visual check does not prove long-term wash durability, which requires separate wash testing.
| Inspection Stage | What to Observe on the Spot | What to Record for Repeat Runs |
|---|---|---|
| Printed PET film | White opacity, fine text, edge alignment, no banding or head rub | RIP version, media profile, print mode, and white layer settings |
| Powdered and cured film | Even powder coat, clean borders, uniform melted adhesive texture | Powder product/lot, curing unit setting, and curing duration |
| Pressed finished garment | Complete peel release, flat edges, color clarity, and hand feel | Garment fabric, press temp/time/pressure, peel type, and post-press |
When the First Print Goes Wrong, Isolate the Stage First
When a test run fails, changing RIP sliders, curing heat, and press settings at once hides the cause. Check the stage where the symptom first appears.
| Symptom | Stage to Check First |
|---|---|
| Software shows offline or jobs do not output | Cable/network connection, driver, license, and selected printer |
| Missing lines in nozzle checks or printed graphics | Model-approved startup ink preparation and nozzle check routine |
| White backing shifts out from colored edges | Alignment checks, artwork white layer, and matching RIP profile |
| Film skews, wrinkles, or nears a head strike | Film loading, feed path, and adjustments allowed by the manual |
| Film looks clean, but transfer lifts on the shirt | Material matching, curing settings, heat press, and peel method |

Use these as starting checks rather than single-cause diagnoses. If you need technical support, avoid unrecorded adjustments or repeated forced cleanings; send your model, serial number, error messages, check photos, and current material and machine settings.
Save Your Working Configuration and Hand Off Daily Operation
Confirming machine setup and confirming the daily operator can repeat orders are two separate steps. Before scheduling regular production, complete this handoff:
- Save working configurations: Back up software versions, licenses, media profiles, test files, and verified settings.
- Organize maintenance guides: Keep model-specific startup, shutdown, and daily DTF printer maintenance instructions at the workstation.
- Run a solo operator test: Have the operator complete a full transfer and confirm who to contact when something looks wrong.
- Log open items: Record any unresolved issues and retest results before booking production deadlines.
Frequently Asked Questions
Operators typically handle room prep, unboxing, and assembly using the manual, while software setup, ink prep, and calibration may include remote or on-site technician support depending on the model and order terms. Check your agreement beforehand to confirm how tasks are divided.
Not every unit uses the same voltage: many printers use standard outlets, while commercial inline powder shakers, dryers, and some heat presses require 220V–240V circuits. Check each machine’s nameplate rating individually.
Compatibility depends on the specific RIP and control software supplied with your printer, though many DTF drivers and control programs require Windows. Shops that design on Mac often transfer print files to a dedicated Windows computer connected to the printer.
Suitability depends on doorway clearance, floor space, electrical circuits, temperature and humidity control, powder containment, and active curing extraction. Check your equipment manual and consumable SDS requirements first, and never cure transfers in unventilated living spaces.
Setup time depends on your machine configuration, whether power and exhaust are ready, and technician scheduling. Leave enough buffer to finish assembly, software setup, calibration, and a complete garment transfer test before taking rush orders.
Plan Your Setup Before the Equipment Arrives
A dependable DTF printer setup brings together complete equipment and supplies, matched machine and software settings, a verified garment transfer, and an operator ready for daily care.
If you are planning a new setup, share your typical design sizes, garment types, expected order volume, and workspace conditions with XinFlying to discuss a DTF printer configuration, matched supplies, and pre-delivery preparation. Existing customers can reach support through their order channel with their model, serial number, and check records.