The decision in front of you isn’t really “which printer is best.” It’s “which process fits the garments I actually print” — and that question has an answer you can work out before you spend anything. No prior printing experience is required to follow it.
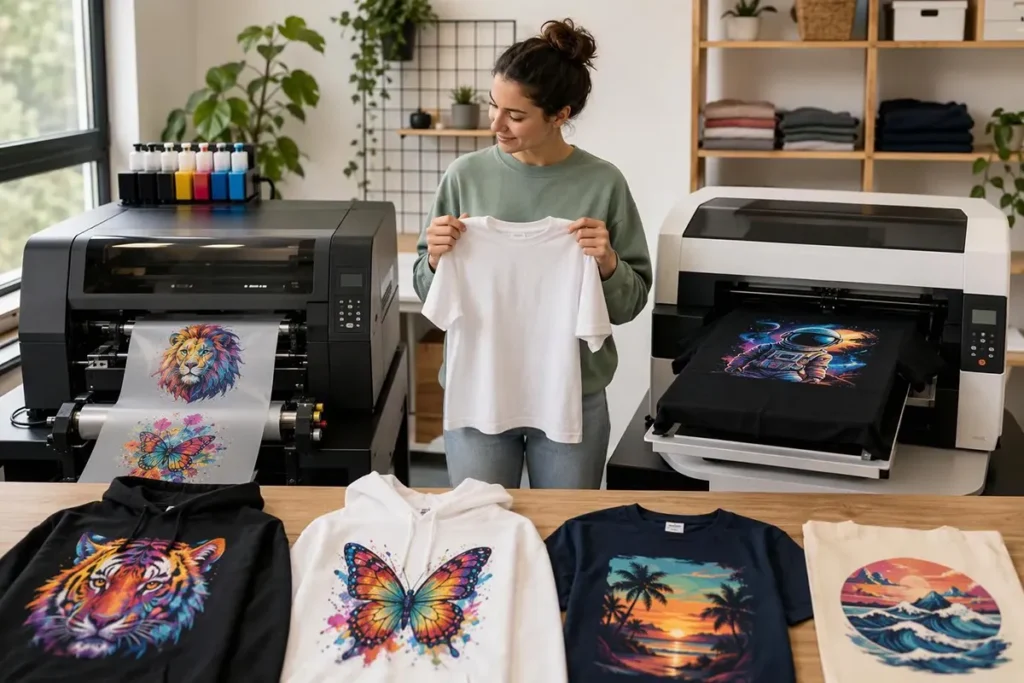
Two technologies dominate entry-level custom apparel right now. Direct-to-garment (DTG) prints water-based ink straight into a garment that sits on a machine platen. Direct-to-film (DTF) prints the design onto a coated plastic film, coats it with adhesive powder, and heat-presses that film onto fabric. Both are inkjet-based digital methods: no screens, no stencils, no per-color setup. Both can put a full-color photographic design on a shirt the same afternoon you design it.
By the end of this guide you’ll be able to match a process to your fabric mix, estimate what the whole setup costs beyond the printer itself, and test a machine before you pay for it. Xinflying manufactures both DTF and DTG systems, so this guide is written from a manufacturer’s side of the table — but the checks below are ones you should run on any supplier, including us.
What DTF and DTG Actually Are (in Plain Language)
Before comparing, it helps to hold a clear picture of what each machine does, in order, and why each step exists.
A few terms come up in both processes. An inkjet printhead is the component that fires thousands of tiny ink droplets per second. CMYK means the four process colors — cyan, magenta, yellow, black — that combine to make full color. A white ink underbase is a layer of white ink printed beneath the color so the design stays opaque on a dark garment. RIP software (raster image processor) converts your design file into the printer’s language and controls settings like the white layer and image mirroring. A heat press applies temperature and pressure to cure or transfer. A platen is the flat platform a garment is loaded onto for printing.
DTF: print, powder, melt, press
Kodak’s DTF/FTF printing application guide lays out the sequence cleanly:
- Print onto film. A DTF printer prints the color image onto a coated PET film (polyethylene terephthalate — a dimensionally stable plastic sheet). On dark shirts, a white ink layer is printed on top of the color.
- Apply powder. While the ink is still wet, hot-melt adhesive powder is sprinkled or shaken evenly across the print, then excess is removed. Kodak notes that white powder suits all applications, while black powder may be chosen for dark work.
- Melt the powder (curing). The film goes into a curing oven for 2–3 minutes at 100–120 °C, or into a heat press hovering 4–7 mm above the film for 3–5 minutes at 140–150 °C, with the press not fully closed.
- Pre-press the garment for 2–5 seconds to flatten fibers and drive off moisture.
- Transfer at 160–180 °C for 10–20 seconds.
- Cold peel — let the film cool completely, then separate it from the fabric.
- Post-press for 10–20 seconds at 160–180 °C, which Kodak “highly recommends” for wash and rub fastness.
The film is a carrier, not part of the finished print. What stays on the shirt is ink bonded by melted adhesive.
DTG: pretreat, print, cure
Brother’s DTG process description reduces the workflow to four steps: pretreat and cure the garment; prepare the artwork; load the garment on the platen and print; then cure the ink in a heat press or forced-air dryer. Pretreatment is a liquid applied to the garment before printing — Brother recommends applying it with a pretreatment machine for optimal results, then curing it to create a flat printing surface. On dark shirts the printer lays down an opaque white underbase first, then CMYK on top; Ricoh describes this as a two-pass print for dark garments versus a single pass for lights.
So the core difference is where the ink lands. DTF ink lands on film and is transferred. DTG ink lands in the garment and is cured there.
The One Question That Decides It: What Fabrics Will You Print?
If you take one thing from this guide, take this: your fabric mix narrows the choice more than price, brand or print speed.
A widely cited feature comparison from VistaPrint puts the primary fabric target for DTG at 100% cotton and high-cotton blends, and for DTF at polyester, nylon, fleece and blends, describing DTF’s fabric versatility as high — “works on almost all textiles.” That’s a useful working rule, not a law of physics. It reflects how the two ink systems behave on different fibers, and it holds for the overwhelming majority of beginner product lines.
Here’s how it plays out on the garments you’re most likely to sell:
100% cotton tees. Both processes work. DTG generally wins on hand feel (more on that in the next section), while DTF gives you the option to print a batch of transfers in advance and press them onto blanks as orders arrive.
Polyester and synthetic sportswear. DTF is the practical route. DTG on polyester is possible on some machines — Ricoh, for one, states that its Ri 4000 enables DTG on polyester as well as cotton — but it is not the default, and dark polyester brings a specific problem covered below.
Blends. DTF is more forgiving. DuPont’s P5003 pretreatment guide states that its pretreatment and inks “will work well with many cotton/poly blends up to a 50/50 ratio,” while cautioning that “it is possible that some blends may not work in a straight cotton shirt workflow.” Read that as: test your specific blank, because the 50/50 figure is a reported working range, not a guarantee for every blend on the market.
Dark garments. Both need a white layer, but the mechanism differs. DTG prints white ink and relies on pretreatment to hold it cleanly on the surface. DTF prints white ink onto film and relies on powder and pressing to bond it. Neither is automatic; both fail if the supporting step is skipped.
Dark polyester, specifically. The SGIA Journal’s DTG article is blunt about this: dye migration remains an issue on dark polyester, digital white inks have no dye blockers, and some DTG manufacturers have had only limited success with dark poly. If dark polyester is central to your line, that is a strong argument for testing DTF first.
Your self-check: write down the three garments you expect to sell most of in your first year. If one process covers all three, you have your answer. If neither does, you’re either looking at two machines eventually or at narrowing your launch range — and narrowing is usually the cheaper move.
How Each Process Feels and Wears
Your customers won’t compare ink chemistry. They’ll run a thumb across the print and decide whether it feels like a $12 shirt or a $35 shirt.
The VistaPrint comparison describes DTG prints as ultra-soft and breathable, with water-based ink settling into cotton fibers rather than forming a layer on top, while DTF prints have a slightly raised, smooth film layer and medium-to-low breathability. Printify’s comparison adds useful texture: DTF prints sit as a thin layer you can detect with a fingertip, a little firmer than DTG until they soften over the first few washes, and that firmness is more noticeable in large solid designs.
Keep the scope in mind. These describe typical results on typical garments. A heavy-coverage DTF design on a lightweight poly blend and a small left-chest DTF logo on the same shirt will not feel alike, and a DTG print on a rough, loosely woven blank will not feel like one on a tight ring-spun cotton tee.
On durability, the honest answer is that “which lasts longer” is the wrong question. Both processes can produce prints that survive dozens of washes, and both can produce prints that fail in five. What separates them is which step you have to get right:
DTF durability depends on complete powder coverage, correct melting, and correct press temperature, pressure and time — plus the cold peel and post-press that Kodak recommends. Under-cured powder or an early peel is where peeling and cracking come from.
DTG durability depends on pretreatment — the right amount, evenly applied, properly dried — and on the final cure. DuPont’s guide is explicit that proper pretreatment application “is key to obtaining optimum white opacity and ink adhesion,” and its troubleshooting section points to under-curing and garment surface treatments as common causes of poor wash fastness.
Printify notes that DTF may crack or peel in high-flex areas while DTG fades slowly — different failure modes, not different quality tiers. Choose the trade-off that matches your product: softness and cotton focus on one side, fabric range and pre-printed transfer inventory on the other.
What You Need Beyond the Printer
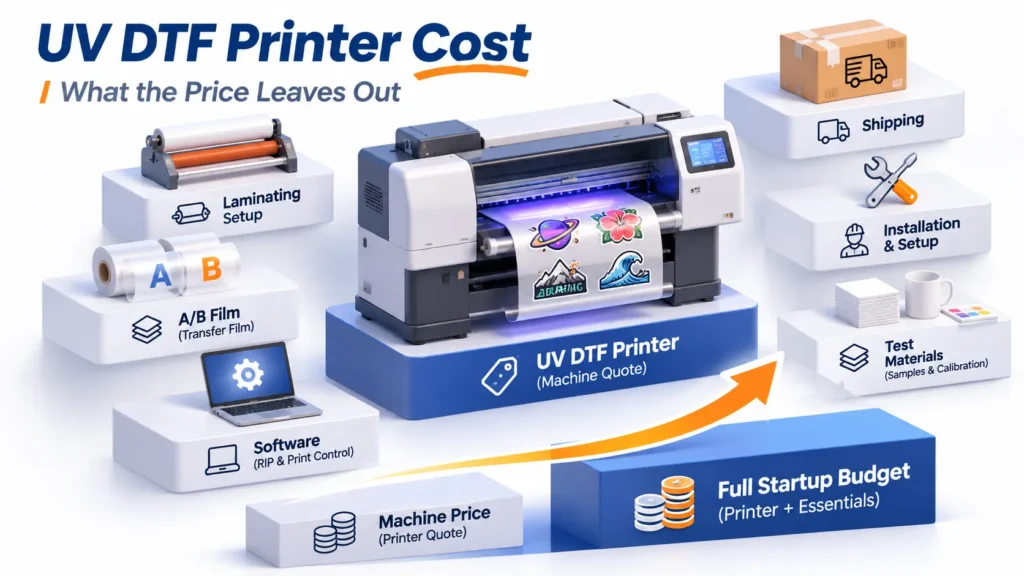
The printer is the most visible cost and rarely the largest one. Here’s what sits around it.
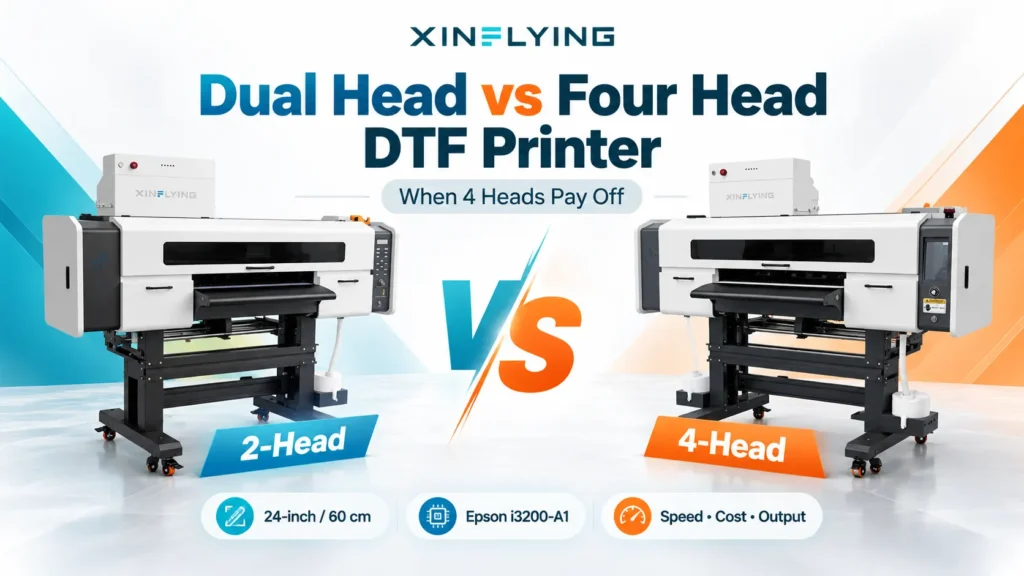
For product examples, see the Xinflying C602 DTF printer and Xinflying DTG 20 garment printer.
DTF setup
- DTF printer
- DTF ink: CMYK plus white
- PET transfer film (coated)
- Hot-melt adhesive powder
- A powder application method: a tray with manual sprinkling, or an automated shaker. Kodak’s guide describes both.
- A curing device: a curing oven, or a heat press used with a 4–7 mm gap and the platens not fully closed
- A heat press for the transfer itself
- Design software and RIP software
DTG setup
- DTG printer
- DTG inks (water-based)
- Pretreatment solution and an applicator — a hand sprayer or an automatic pretreatment unit. DuPont notes that an automatic unit offers consistent, repeatable application, but that manual spraying works “without loss in quality” when done correctly.
- A heat press or conveyor dryer for drying pretreatment and curing the final print
- Cleaning supplies and maintenance solution
- Design software and RIP software
Two things surprise first-time buyers. First, the heat press is not optional in either process — it is a production machine, not an accessory, and a cheap press with uneven temperature will undermine a good printer. Second, DTF’s powder step needs a physical station: a tray, a shaker or both, plus somewhere for overspray and residue to go. Plan the bench space before the machine arrives.
The Printing United Alliance journal article makes a related point about DTG: inline wet pretreatment requires a significant dryer for evaporation and more electrical or gas capacity, while a heat press may be enough for offline pretreatment curing. Which configuration you choose changes your utility and floor-space requirements, not just your equipment list.
Building a Total-Cost-of-Ownership Worksheet
Published consumable figures for DTG and DTF vary so widely that a single price tag tells you almost nothing. What you need is a structure you can fill in with your own quotes.
Start with the ranges, to calibrate your expectations. The Printing United Alliance journal reports DTG ink costs from under $200 per liter up to $900 per liter, pretreatment from nothing (on white or light shirts, depending on the look) to over a dollar on a dark shirt requiring white ink plus added handling, and a printed consumable cost — ink and pretreatment — from twenty cents per square foot to over five dollars per square foot. It also warns that ink waste must be counted: some machines estimate ink use from image size, others measure jets per liter, and a per-job cost without a waste-ink percentage isn’t the number you need.
Now the warning that matters most. A DTG figure covering only ink and pretreatment cannot be compared with a DTF figure that bundles film, powder and labor but leaves other inputs unspecified. Put unlike things in the same row and you’ll make a confident decision on a bad comparison. Build the worksheet so every line is defined the same way for both processes.
Worksheet categories
Line item | DTF | DTG |
|---|---|---|
Machine purchase | Printer | Printer |
Shipping, duties, installation | Confirm with supplier | Confirm with supplier |
Ink | CMYK + white, per liter | CMYK + white, per liter |
Process consumables | Film + powder, per print | Pretreatment, per garment |
Replacement parts and maintenance kits | Wipers, dampers, capping parts | Wipers, caps, cleaning cartridges |
Labor minutes per print | Print + powder + cure + press | Pretreat + dry + print + cure |
Waste ink | Ask for the waste percentage | Ask for the waste percentage |
Floor space and utilities | Printer, oven, press, powder station | Printer, press or dryer, pretreatment station |
Converting to cost per garment
Once the lines are filled in, divide by your real monthly volume — not your best month. If you expect 300 prints a month, use 300. Fixed costs (machine, installation, space) divided by a realistic volume is where beginners get burned: at 100 prints a month a $15,000 machine carries $150 of fixed cost per print; at 1,000 prints it carries $15. That single division often changes which machine looks affordable.
Then add variable cost per garment: ink consumed, film and powder or pretreatment, and labor minutes at your own hourly rate. Compare the two totals at the same volume and the same design size.
One practical note: Xinflying supplies matched consumables and original spare parts alongside its machines, so you can request a consumables quote together with the machine quote and put real numbers in these rows rather than estimates.
Workspace, Ventilation and Storage
Both processes are sensitive to their room, and beginners tend to discover this after the first clogged printhead.
DTG environment
Polyprint’s DTG workspace guidance gives operating ranges of 10–30 °C, ideally around 20 °C, and 30–70% relative humidity, ideally about 55%. The reasons are mechanical, not fussy:
Too cold: ink viscosity rises, pigment forms sediment that is hard to redisperse, and jettability suffers — eventually clogged nozzles and ink-flow problems. Pretreatment liquids sediment too, and the larger particles can block a pretreatment machine’s nozzles.
Too dry: inks dry out and you need more frequent cleaning cycles, with a risk of permanent nozzle loss.
Curing equipment placement: heat presses and tunnel dryers need stable high temperatures and should not sit right next to the printer or pretreatment unit. High local temperatures alter humidity and dry the inks, and can polymerize pretreatment in the tubing.
Direct sunlight and outdoor operation: avoid both.
Treat these as manufacturer guidance to confirm for your specific machine, not universal constants.
DTF environment
DTF has its own sensitivities. DTF Database’s workspace guide notes that above roughly 70% humidity, film absorbs moisture, causing adhesion problems and ink spreading. Adhesive powder needs ventilation — xTool’s DTF guide recommends an air purifier or well-ventilated space when powdering indoors, and DTF Database suggests a dedicated room with hard flooring rather than carpet for easy powder cleanup. Store powder and film away from moisture and sunlight, and store finished transfers flat.
Chemical safety
Pretreatment solutions, inks and cleaning fluids are workplace chemicals. In the US, OSHA’s Hazard Communication Standard (1910.1200) requires employers to maintain a written hazard communication program, label containers, obtain and distribute safety data sheets, and train employees on the hazards and protective measures. DuPont’s pretreatment guide points readers to the supplied SDS before use. If you’ll have employees handling these materials, that obligation applies to you — and if you’re a one-person shop, reading the SDS is still the fastest way to learn what protective equipment and ventilation the manufacturer expects.
Maintenance: What Each Machine Demands
Maintenance is where beginners either build a durable habit or quietly damage a printhead. The routine is not difficult; it is non-negotiable.
The shared core
Both machines want daily nozzle checks, capping station and wiper cleaning, ink level checks, and white-ink agitation or circulation. Brother’s GT-3 user guide treats white-ink loading, wiper cleaning and capping-station cleaning as recurring scheduled tasks, and notes that the cap rims form a seal so air cannot dry the heads — a dirty or damaged cap defeats that seal. Images Magazine’s DTG maintenance overview adds power and air supply checks, cleaning-tank refills, pretreatment stock checks and cartridge agitation to the daily list, with encoder strips and machine body cleaning monthly.
Why white ink is the crux
White pigment — titanium dioxide — is heavy. DTF Printer USA’s daily checklist states that the pigment separates from its carrier within hours, and that daily agitation and circulation are what keep white usable. DTF Database’s maintenance guide is more direct: white ink systems require daily attention, and neglecting maintenance for even two to three days can result in permanent head damage costing $1,000–3,000 to repair. InkSonic’s DTF maintenance guide adds the idle-period rule: before any downtime of several days, flush with cleaning fluid, shake white ink bottles thoroughly before the next use, and run a nozzle test before restarting.
Where the routines diverge
- DTG adds: pretreatment system care (nozzles, tubing, solution stock), cartridge agitation, and cleaning-tank management.
- DTF adds: powder residue removal from the workspace, film-feed path cleaning to prevent tracking errors and scratches, and inspection of wipers and dampers every one to three months depending on usage.
A realistic daily time budget is under thirty minutes across the touchpoints, per DTF Printer USA — but that assumes you actually do it every day. If you know you won’t, that’s information about which machine to buy, not a problem to solve later.
Before you buy, ask the supplier for their written maintenance schedule and their spare-parts list. A supplier who can’t produce either is telling you something.
How to Test a Machine Before You Buy
You cannot evaluate print quality from a showroom demo on the supplier’s fabric. Turn the remaining uncertainty into a procedure.
1. Request samples on your own garments. Send the exact blanks you plan to sell — same brand, same color, same blend. Ask for the same design printed by both processes if you’re still deciding. Fabric absorption, weave tightness and polyester content all change the result, and the Printing United Alliance journal notes that absorption rates can differ significantly between brands of the same shirt.
2. Run a wash test. Wash the samples the way your customers will, and inspect after one, five and ten cycles. For a more standardized comparison, AATCC TM61 is the accelerated laundering method: per the AATCC method summary, one 45-minute test roughly approximates the color loss and surface change of five typical hand or home launderings. ARCwear’s description of Method 2A adds that specimens are abraded with stainless steel balls in canisters and evaluated on gray scales for color change and staining. You don’t need to run the test yourself — but asking a supplier whether they have TM61 data tells you how seriously they test.
3. Inspect the print. Hand feel against your own product standard. Edge sharpness on small text. White opacity on a dark shirt — DuPont suggests an L* value of at least 92 for a solid white layer as an optimization target. Cracking or lifting at the edges after washing.
4. Check the support side. Training, written documentation, and technical support you can actually reach in your time zone. Ask how support is delivered — remote, on-site, or both — and what response time they commit to.
5. Confirm consumable supply. Availability and lead times for ink, film, powder or pretreatment, and spare parts. A machine you can’t feed is a machine that’s down.
Questions to put in writing
- What maintenance is required daily, weekly and monthly?
- What does a replacement printhead cost, and what causes premature failure that isn’t covered?
- What exactly does the warranty cover — and what doesn’t it? Consumables, printheads and wear parts are often treated differently from the machine itself.
- How is support delivered in my region, and during which hours?
- What is the lead time on consumables and on spare parts?
For context on the last point: Xinflying provides setup training, a one-year machine warranty and 24/7 technical support, and supplies matched consumables and original spare parts. Those are first-party statements about our own offering — verify them against the order terms and the warranty and after-sales policy before you commit, exactly as you would with any supplier.
Common Beginner Mistakes
Most first-printer disappointments trace back to one of these.
Buying on sticker price alone. The machine is one line in the worksheet. If you haven’t budgeted ink, film and powder or pretreatment, maintenance kits and labor, you haven’t priced the setup. Fix: fill in the cost-per-garment worksheet at your real volume before comparing machines.
Choosing DTG for a mostly-polyester line. DTG is built around cotton and high-cotton blends. If your catalog is performance wear and poly blends, you’ll be fighting the process on every order. Fix: run the three-garment self-check in the fabric section first.
Skipping pretreatment, or under-curing it, on dark shirts. DuPont is explicit that proper pretreatment application is key to white opacity and ink adhesion. Patchy spray or a wet garment going into the printer shows up as a washed-out or cracked design. Fix: weigh-test your pretreatment application once to dial in the amount, then apply it consistently.
Under-curing DTF powder, or peeling before the film cools. Kodak’s sequence calls for cold peel and a post-press. Peel warm and you’ll get stretching and lifting; skip the post-press and wash fastness suffers. Fix: follow the cure and press parameters for your film and fabric, and time the peel.
Letting white ink sit. Pigment settles within hours. A weekend of neglect can mean a clogged white channel and a repair bill in four figures. Fix: daily agitation or circulation, and a cleaning flush before any extended idle period.
Buying without confirming local support and parts. A great machine with no reachable technician and a three-week parts lead time is a production stoppage waiting to happen. Fix: get support arrangements and spare-parts lead times in writing before you order.
A Simple Decision Path
Here is the whole guide as a sequence you can work through in a couple of weeks.
- List your fabrics and products. Write down the top three garments you expect to sell, with fiber content and color. Be specific — “hoodies” isn’t enough; “80/20 cotton-poly fleece, black and heather grey” is.
- Eliminate any process that can’t cover your main garment. If dark polyester is on the list, DTG moves down the ranking. If it’s all 100% cotton and hand feel is the selling point, DTG stays in front.
- Compare sample prints on your own blanks. Same design, same garment, both processes if both survived step 2. Wash half of them.
- Build the cost-per-garment worksheet at your real volume. Every line defined the same way for both processes. Include waste ink and labor minutes.
- Confirm workspace and maintenance capacity. Can you hold the temperature and humidity range? Do you have ventilation and a powder station? Will you genuinely do the daily routine?
- Test the machine and the supplier. Maintenance schedule, spare-parts list, printhead cost, warranty terms, support hours in your region, consumable lead times.
If a process survives all six, it’s a reasonable first purchase. If neither survives, the answer may be to start with outsourced transfers or a narrower product line — which is a cheaper way to learn the same lessons.
Reader Questions
Some models combine both functions, and Ricoh, for example, lists DTF capability alongside DTG on its Ri 4000. The trade-off is the same one you’d face with any multi-function machine: you get flexibility, but you should check that each mode meets your quality and speed requirements rather than assuming a hybrid performs identically to two dedicated machines. Ask for sample prints in both modes on your own garments before deciding.
More than the printer’s footprint. A DTF setup needs the printer, a powder station, a curing device and a heat press, plus bench space for film handling. A DTG setup needs the printer, a pretreatment station, and a heat press or conveyor dryer. The Printing United Alliance journal notes that inline wet pretreatment requires a significant dryer and more electrical or gas capacity, while a heat press may suffice for offline pretreatment curing. Measure the full workflow, not the machine.
Yes. DTF needs one to transfer the film and can use one (with a gap) to melt powder. DTG needs one — or a conveyor dryer — to dry pretreatment and cure the final print. A heat press with uneven temperature or inconsistent pressure will undermine either process.
Brother describes DTG as creating high-quality printed garments with “minimal training or experience,” and both processes are designed around a single operator. The realistic learning curve is in the variables — pretreatment amount, powder coverage, press settings for each fabric — not in operating the software. Expect a few days of guided practice and a few weeks of production before your settings are dialed in for your standard blanks.
It depends on how you count. DTF has no pretreatment step and no per-shirt chemical application, which some suppliers argue lowers per-shirt consumable cost. DTG avoids film and powder but adds pretreatment and its handling. Published DTG consumable costs range from twenty cents to over five dollars per square foot, which is too wide to settle the question in the abstract. Build the worksheet at your volume and compare like with like.
Diagnose by process. DTF cracking usually points to incomplete powder coverage, under-melted powder, insufficient press pressure or time, or peeling the film before it cooled. DTG cracking or fading usually points to too little pretreatment, uneven application, or under-curing. Check your cure temperature on the actual equipment with an IR gun or temperature test strip before changing anything else — DuPont’s troubleshooting section names low curing temperature as a primary cause of poor wash fastness.
Where to Go From Here
The right first printer follows from your fabric mix and your volume. There is no universal ranking, and any guide that offers one is skipping the part that matters.
What removes most of the risk is unglamorous: a sample printed on your own garment, washed the way your customer will wash it, plus a cost-per-garment worksheet filled in at your real monthly volume. Those two artifacts will tell you more than any specification sheet.
When you’re ready, shortlist two or three suppliers — including Xinflying’s DTF and DTG lines if they fit your fabric mix — and ask each for the same things: sample prints on your blanks, a consumables quote alongside the machine quote, their maintenance schedule, their spare-parts list, and their warranty terms in writing. Compare the responses on the same garments and the same volume. The supplier who answers all five clearly is the one worth a second conversation.