A wider roll and more printheads are worth paying for when they help complete the orders the business sells. If transfers already pile up at the cutter or heat press, a faster 24-inch DTF printer may leave the delivery problem unresolved.
Start with the artwork, prove the workload, then compare the complete quote. That order helps separate useful capacity from features that add cost without solving the current bottleneck.
This 24-inch DTF printer buying guide explains those decisions with three Xinflying configurations. Their listed speeds are manufacturer specifications; the batch test below shows how to compare shortlisted printers against the work they need to finish.
How to Choose a 24-Inch DTF Printer for Regular Orders
This format suits repeat apparel graphics and mixed gang sheets that use the wider roll. Print area and cutting gaps determine how many designs fit side by side.
Start with regular orders and the recurring jobs that take the most work. Note artwork size, quantity, deadline, and whether the business sells loose transfers or finished garments.
For occasional small logos, a 24-inch printer may leave much of the film unused unless jobs can be combined. Outsourced transfers or a smaller printer can be a better fit when volume is irregular and nobody can take responsibility for maintenance.
Does “24 Inch” Mean a Full 24-Inch Print Area?

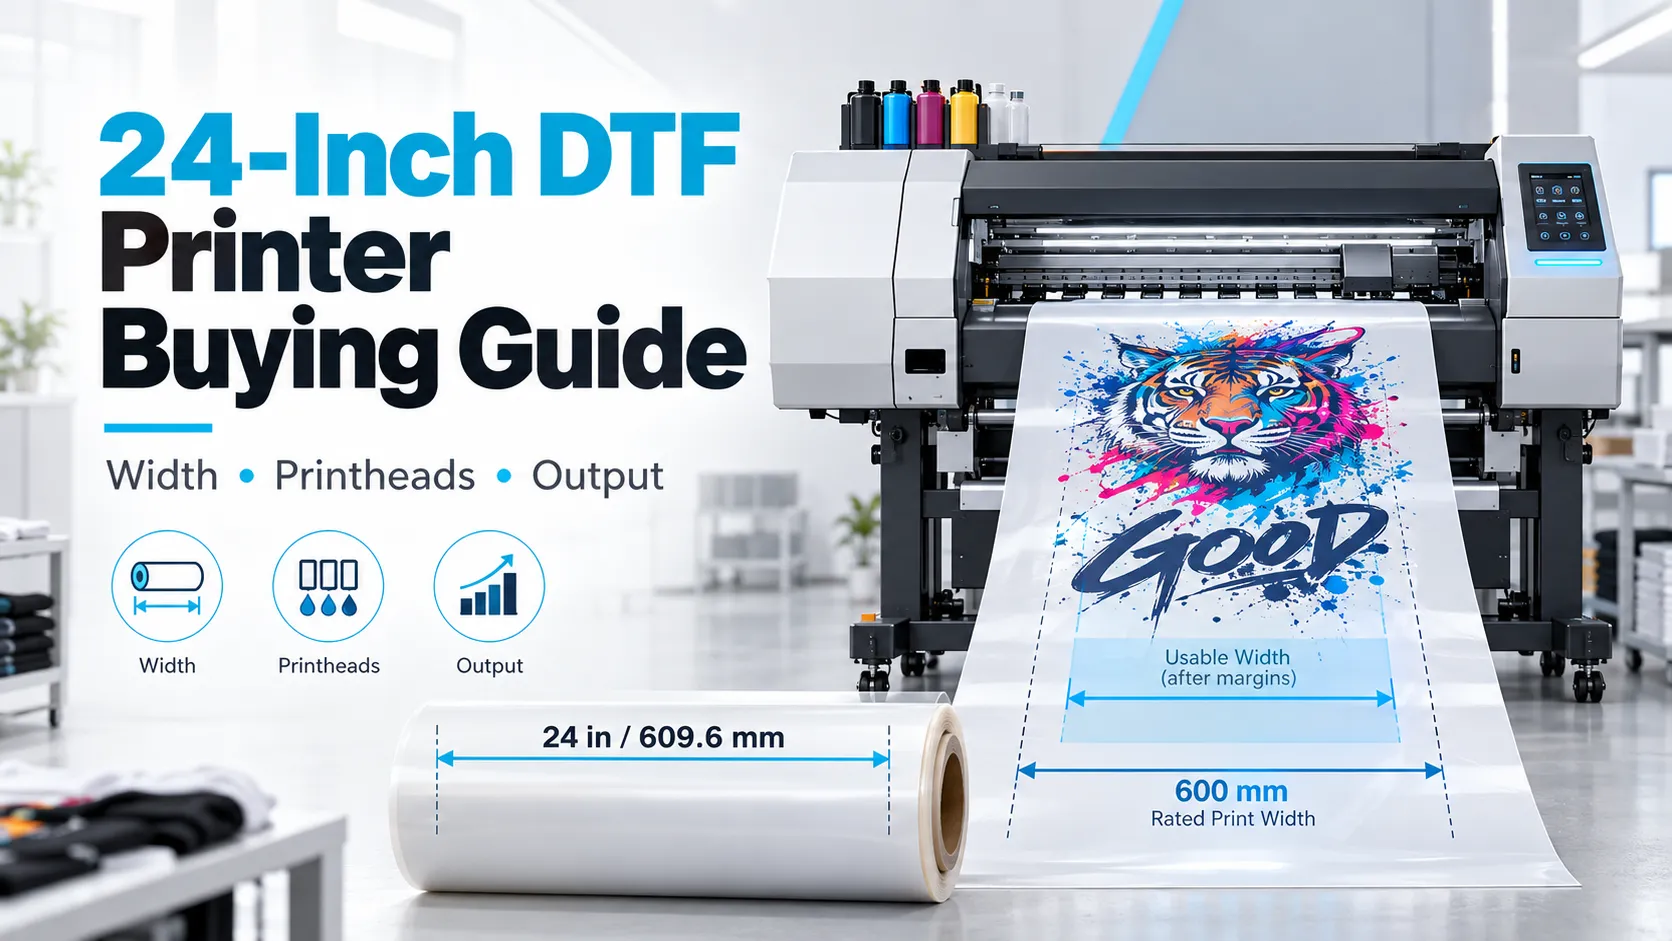
Film width is the roll’s width; rated print width is the printer’s specified limit. Usable width is the area left for artwork after the actual setup’s margins and handling requirements.
Exactly 24 inches is 609.6 mm. A 600 mm print width is about 23.62 inches, even though equipment in this size class is often labeled “24-inch” or “60 cm.”
That difference matters when a customer supplies artwork that must stay exactly 24 inches wide. A 600 mm print area cannot accommodate it across the roll at full size; rotating the design may work if its other dimension fits and the RIP and downstream equipment can handle the resulting length.
Check Width in the RIP and on the Film
The Xinflying models below list 24 inches / 60 cm. Check usable width with the intended roll and settings.
Set the job to its required size in the RIP with scaling disabled. Record the media setting and margins, then print a dimensioned test layout and measure the output; a preview alone cannot show whether an edge is clipped or the film feeds consistently.
Keep the RIP layout and measured sample together. Also watch for film drift, wrinkles, or lifting during the run; film support and tension control affect whether the full width stays usable.
Compare Printhead Type, Head Count, and Print Mode
i1600 vs. i3200: What the Head Name Tells Us
Compare complete printers, not nozzle counts alone. Epson lists 1,600 nozzles for the I1600 series and 3,200 for the I3200 series, but that does not establish twice the finished output or a fixed replacement cost. The exact head variant, ink assignment, electronics, and production settings matter. (Epson I Series specifications)
An i1600-equipped model belongs on the shortlist if its demonstrated output meets the orders and its total cost makes sense. An i3200-equipped model needs the same proof; the head name alone cannot justify an upgrade.
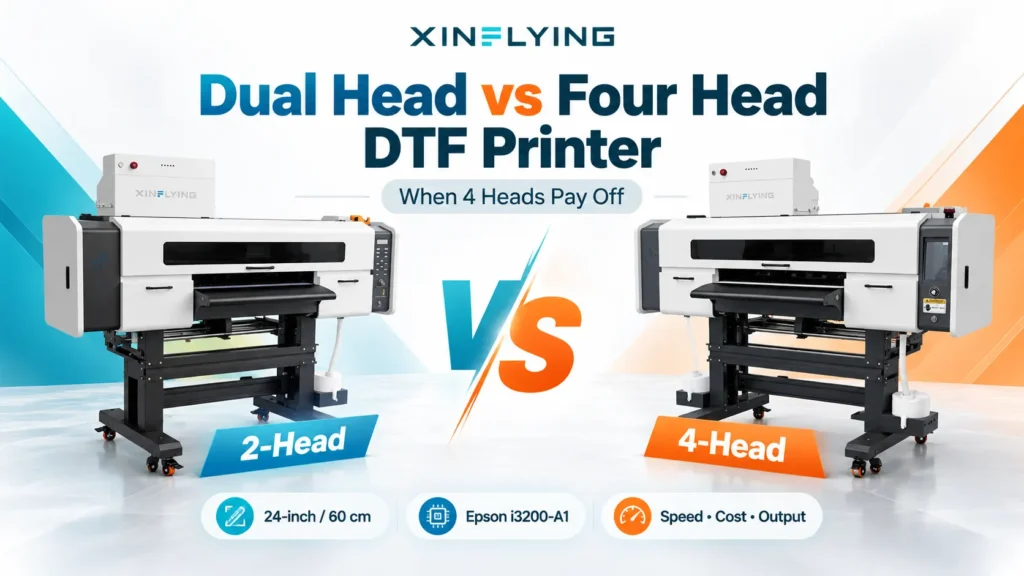
Two Heads vs. Four Heads: Xinflying Configuration Comparison
Printhead count helps explain the configuration, but it does not establish order capacity on its own. Pass count describes successive printing passes; comparing a fast 4-pass claim with an 8-pass production mode can hide a quality difference.
The following 24-inch DTF printer comparison uses Xinflying’s standard print speeds, separate from its fastest-speed figures. These figures help shortlist configurations; the batch test establishes accepted output for the job.
| Xinflying model | Printhead configuration | Standard 6-pass speed | Standard 8-pass speed | What to evaluate |
|---|---|---|---|---|
| XF-702E | 2 Epson i3200-A1; CMYK + W | 10 m²/h | 8 m²/h | Consider for repeat transfer work within two-head capacity. Its 12-pass standard speed is 5 m²/h, so quality choices affect scheduling. |
| XF-C602 | 2 Epson i3200-A1; CMYK + W | 10 m²/h | 7 m²/h | Compare layout and supplied accessories alongside output. Its 4-pass standard speed is 13 m²/h; sample quality determines whether that mode suits the job. |
| XF-704E | 4 Epson i3200-A1; CMYK + CMYK + W + W | 18 m²/h | 13 m²/h | Shortlist when printing holds back repeat batches and finishing can use the additional output. |
The XF-C602 row covers regular CMYK and white, not the fluorescent configuration. The XF-702E lists automatic moisturizing; the XF-C602 lists that feature as optional, so include its status when comparing the quotes.

Matching pass counts does not prove matching resolution, ink limits, profiles, or quality. Compare the same artwork at settings that produce acceptable transfers.
Inspect the transferred garment, not only the printed film. Include fine text, a solid color area, a gradient, and white-underbase edges; check for banding, missing detail, color mismatch, and unwanted white outlines. Keep an applied sample for agreed wash and stretch checks before accepting durability claims.
Four heads make sense when printing is the bottleneck. If a two-head model completes the orders on time, compare its total cost before paying for capacity that may sit idle.
How Many Designs Fit Across a 24-Inch Gang Sheet?
Usable width and spacing determine how many designs fit. A gang sheet combines designs on one length of film, affecting material use and order separation.
For equal-width designs in one row: required width = number of designs × design width + total gaps.
Assume, for this example only, that a job has 23 inches of usable width after side margins and uses 0.25-inch gaps:
| Layout | Width calculation | Result |
|---|---|---|
| Three 7-inch-wide designs | 3 × 7 + 2 × 0.25 = 21.5 inches | Fits, leaving 1.5 inches within the assumed usable area |
| Two 11-inch-wide designs | 2 × 11 + 0.25 = 22.25 inches | Fits, leaving 0.75 inch within the assumed usable area |
| Three 8-inch-wide designs | 3 × 8 + 2 × 0.25 = 24.5 inches | Does not fit |
These are illustrative dimensions, not machine specifications or universal gaps. Side margins are already excluded; allow for any extra cutting space or order separators.

Use Less Film Without Creating More Sorting Work
Small logos can fill space beside larger artwork, but a tightly nested sheet is not always the fastest order to finish. Mixed customer designs may require extra cutting, identification, and sorting.
Compare two layouts of the same order: one arranged for minimum film length, the other grouped for easy cutting and packing. Count acceptable transfers and time both through the same finishing stage.
Keep the layout that lowers the cost of completing the order. Film savings can disappear when separation takes more labor.
For more layout guidance, see our guide to choosing a DTF printer for gang sheets.
Measure Finished Output with One Representative Batch
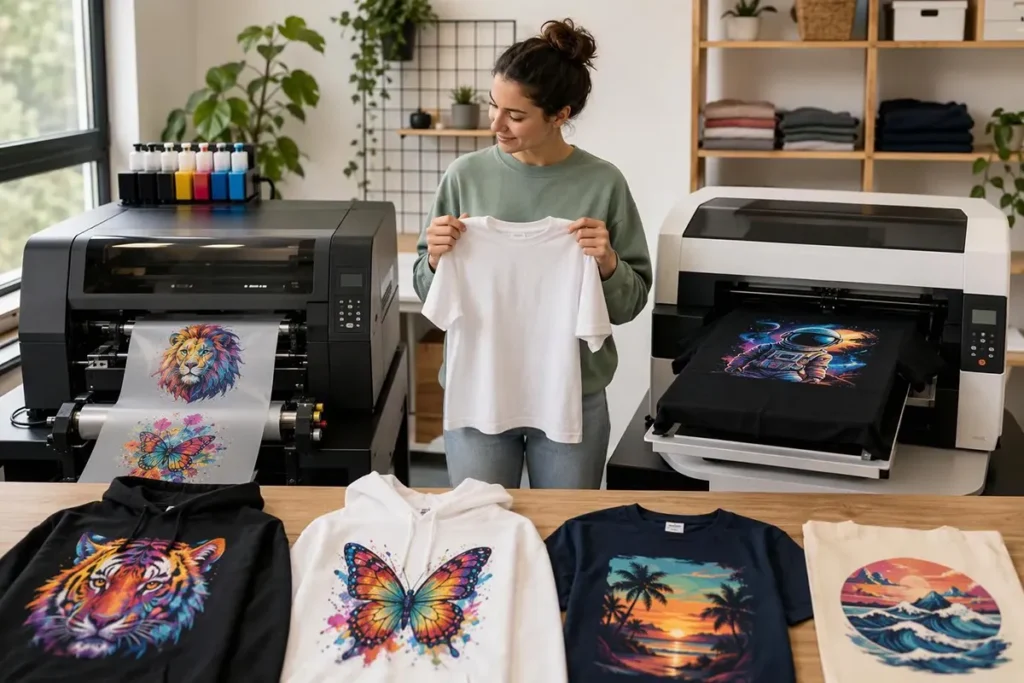
A useful printer demo ends where the shop’s delivery task ends. For a loose-transfer business, that may be cured transfers cut and sorted; for a garment shop, it may be accepted shirts after pressing.
Run one recurring batch on each shortlisted printer with the same file, sizes, quantities, and quality requirements. Record differences in consumables, RIP profile, resolution, and white-ink settings.
- Approve the layout. Save the RIP preview, dimensions, quantities, margins, and nesting arrangement.
- Set the acceptance criteria. Agree on size tolerance, approved color sample, readable detail, white alignment, and application quality on the intended fabric. Approve a transferred sample before the timed comparison.
- Record the production stages. Start the batch clock when printing begins; stop it when the required accepted quantity reaches the agreed finish point, including any reprints. Record printing and curing completion separately.
- Count accepted output. Log rejects and replacements, but count only accepted pieces toward the order. Keep preparation time separate so an already-approved demo is not mistaken for a new order’s total lead time.
- Calculate output and labor. Divide accepted pieces by elapsed batch hours and record each operator’s active time through finishing.
Track elapsed time and active labor separately. Overlapping machine stages can shorten a batch without reducing labor; two operators working for 30 minutes each contribute one labor-hour, even if both work during the same half-hour.
Accepted pieces per elapsed hour = accepted pieces ÷ total elapsed batch hours.
For example, 120 acceptable transfers completed in 90 minutes gives 80 acceptable transfers per hour. This is an illustrative calculation, not a printer performance result.
Repeat with a demanding order. A short demo does not establish eight-hour capacity; allow for roll changes, maintenance, and interruptions.
Compare Equipment Layout and Shaker–Dryer Compatibility
Separate cabinets can still form a continuous production line. A printer feeding film into a separate shaker and dryer is not the same as a printer that needs manual powdering and batch curing. When comparing “all-in-one” and separate equipment, follow the film path and count the manual handoffs.
A compact arrangement may fit the room better; separate units may offer more layout choices. Compare dimensions, service access, and pairings before judging productivity.
The shaker and dryer must handle film width, feed behavior, powder application, and curing at the intended print mode. Matching “24-inch” labels do not prove compatibility.
Xinflying’s configuration examples pair the XF-702E with the XF-Z650-2 and the XF-704E with the XF-Z60L4. The quote should name the pairing actually supplied.
Test the pairing through printing, curing, and pressing. Watch film tracking, powder coverage, cooling, and collection, then inspect the transferred sample.
If curing requires a slower feed, the dryer constrains the batch. Follow the material’s curing instructions rather than raising heat to chase print speed.
A garment shop also needs a heat press large enough for the designs and a pressing workflow that can keep pace.
Plan Space, Power, and Maintenance Before Delivery
Leave space for the dryer, film path, collection, roll changes, access panels, and operator movement around the printer.
For example, the XF-704E cabinet is listed at 1,740 × 910 mm, approximately 5.7 × 3.0 feet. Its illustrated XF-Z60L4 dryer is listed at 2,760 × 1,100 mm, approximately 9.1 × 3.6 feet; those cabinet dimensions do not include connecting space or service clearance.
Lay out the complete equipment arrangement before ordering. Check doors, unloading, and service access as well as production space. Budget for any climate control needed to meet the manufacturer’s operating conditions.
Check Each Machine’s Electrical Requirements
A printer offered in a 110 V version does not mean its dryer uses the same supply. The XF-704E printer lists 1.6 kW and 220/110 V options, while the illustrated XF-Z60L4 lists 6.5 kW and 220 V.
Power ratings are not actual energy consumption or a circuit design. Have an electrician assess the selected equipment’s nameplates, grounding, connections, and simultaneous loads.
Plan powder handling and extraction around the materials and equipment instructions. Read the actual safety data sheets for handling, exposure controls, and protective equipment; OSHA’s SDS guide explains where that information appears.
Make Maintenance and Support Part of the Purchase
White-ink features only help if the operator can maintain them. Compare the circulation route and operating schedule, tank agitation, and access to filters, caps, and wipers. Circulation moves ink through specified sections of the ink path; tank agitation and nozzle-face protection do different jobs.
Ask for a demonstration of the model’s idle protection and restart routine, with the included and optional features identified. Automatic moisturizing alone does not establish that nozzle diagnosis or compensation is included, and it does not remove routine maintenance.
Training should cover a normal job, nozzle checks, prescribed cleaning, and failed-print recovery.
Include maintenance labor and replacement parts in the ownership budget. Confirm who handles software and printer issues during the shop’s working hours, how parts are supplied, and which service costs fall outside warranty.
What Should a 24-Inch DTF Printer Quote Include?
Compare prices for the same purchase scope. A printer-only quote and a printer-plus-dryer package leave different work and spending before production starts.
The quote should name the printer configuration, shaker and dryer, RIP edition and license, starter consumables, extraction, training, freight, unloading, and applicable taxes or import charges. It should state exclusions and written warranty, parts, and service terms.
The DTF RIP software guide explains why printer compatibility, white-layer controls, profiles, and license scope matter. A familiar software name alone does not establish that every required function is included. Confirm the RIP’s operating-system and computer requirements before ordering.
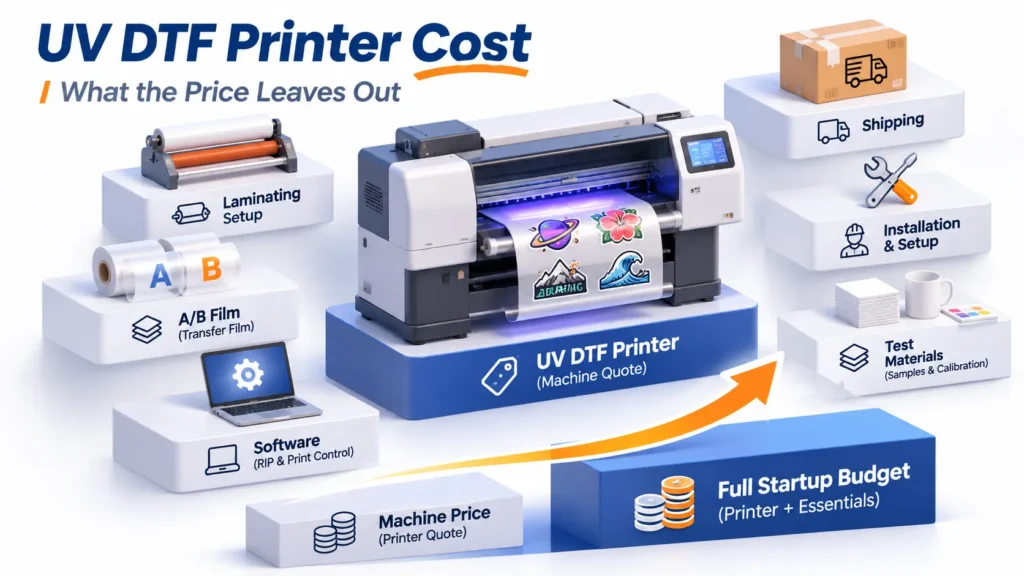
Separate startup spending from recurring costs. Film, ink, powder, cleaning supplies, rejected output, labor, maintenance parts, and power all affect the cost of accepted transfers; our DTF printer price guide covers the wider budget.
For each optional feature, identify the task it changes. Include it when it solves a real production or maintenance constraint; an “automatic” label alone is not enough.
Ask for separate line items for required equipment and optional features. Xinflying quotes the selected configuration for the order mix and installation requirements.
FAQ
Compare usable width, exact printhead configuration, acceptable samples, complete-batch output, equipment layout, maintenance, support, and the total purchase scope. Use the same order and finish point for each model.
Only if the specified and demonstrated usable print width allows it. A 600 mm area is about 23.62 inches, so a full-size 24-inch-wide design will not fit across it; rotating the artwork may help when its other dimension fits.
Not automatically. The XF-702E and XF-704E list 10 and 18 m²/h at standard 6-pass, respectively; finished-order output also depends on quality, curing, and handling.
Area per hour cannot answer that alone. Use accepted output from a representative batch, then account for available production time, pressing, maintenance, roll changes, and interruptions.
It can be, with repeat work and an operator ready to learn printing and maintenance. Outsourcing may be more practical for occasional orders.
Textile DTF requires compatible powder application and curing. For repeat roll production, evaluate an inline shaker and dryer that can keep pace at the chosen print mode.
Yes, with compatible consumables and application settings. Test the intended fabric, especially heat-sensitive or dye-migration-prone material; printer width does not guarantee fabric compatibility.
Make the Purchase Decision Around a Finished Order
Shortlist the XF-702E and regular XF-C602 when a two-head configuration meets the demonstrated workload. Include the XF-704E when printing is the bottleneck and finishing can use its additional output.
Before choosing, check three things together: the artwork fits at its required size, an accepted batch meets the delivery requirement, and the written quote covers the equipment and support needed to run it.
Send one normal order and one difficult recurring order when requesting a Xinflying configuration recommendation and quote. Include the files, dimensions, quantities, finish requirements, and U.S. delivery ZIP code.
Use those files to establish the print mode, equipment pairing, and purchase scope before settling on a model.