Replace the long carriage belt and the short reduction belt in the carriage drive. Preserve the belt routes and restore pulley alignment, tension, and covers before returning the printer to service.
Applicable model: General. Required items: compatible carriage and reduction belts, screwdrivers, hex keys, scissors for trimming the open carriage belt, and a phone for recording the original assembly positions.
Step 1. Open the Covers and Release the Carriage Belt
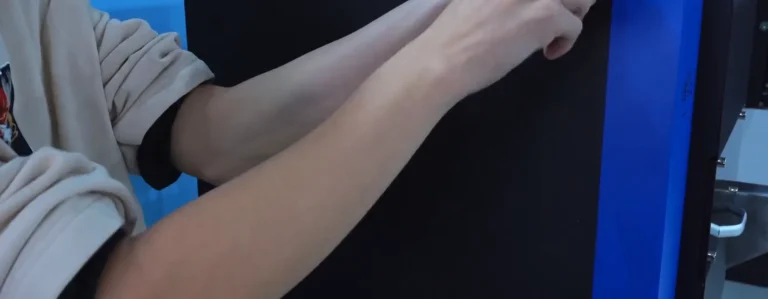
1.1 Position the carriage for access, then switch off and unplug the printer. Remove both side covers (See Figure 1.1, left).
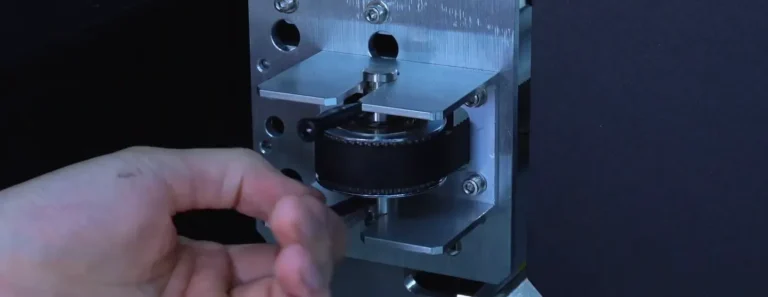
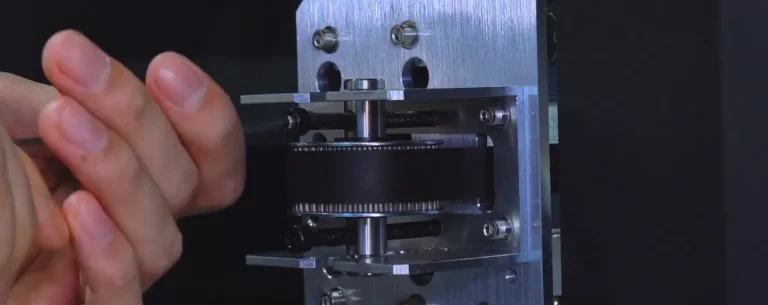
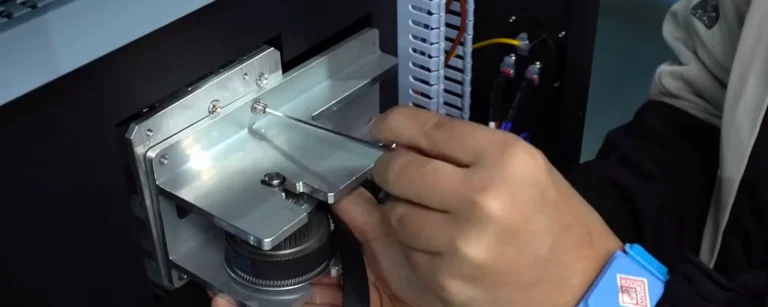
1.2 Loosen the two screws on the left pulley assembly to release carriage belt tension (See Figure 1.1, right).
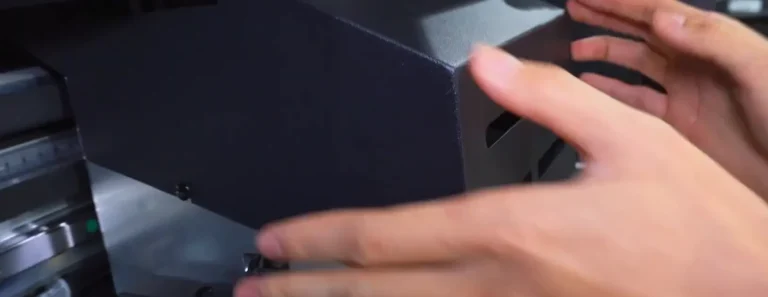
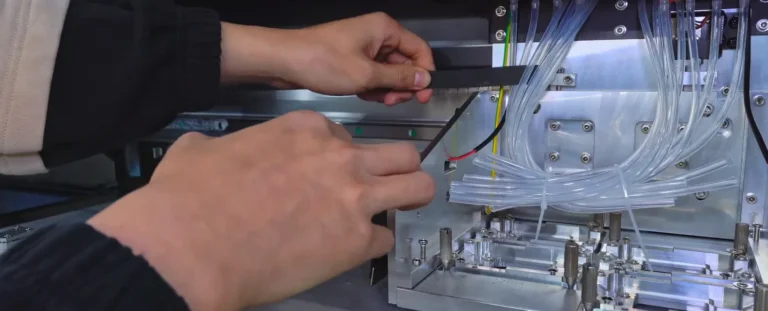
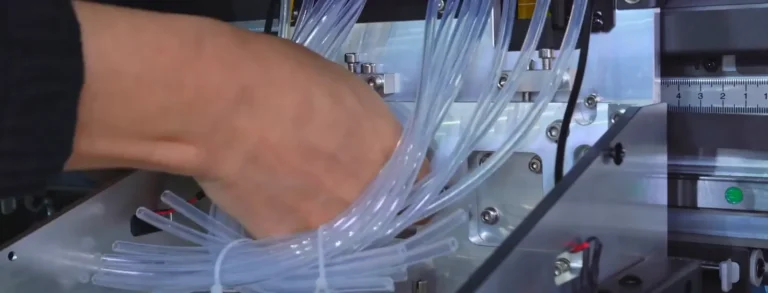
1.3 Record the original printhead base plate height, then lower it to provide access. Remove the carriage cover while keeping ink tubes and cables clear (See Figure 1.2, left).
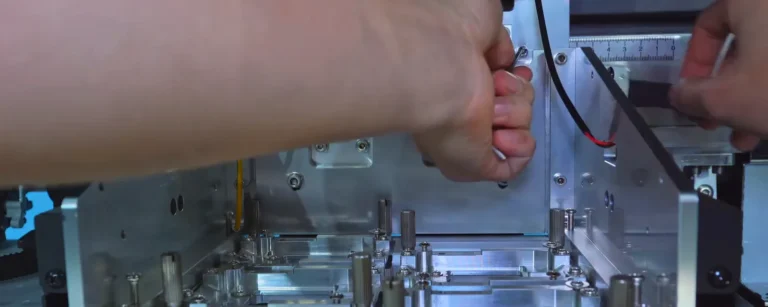
1.4 Unscrew the carriage belt attachments and detach them from the carriage (See Figure 1.2, right).
Step 2. Remove the Old Belt and Fit the New Route
2.1 Remove the fixing clamps from both ends of the old belt and keep them for reuse (See Figure 2.1, left).
2.2 Draw out the old carriage belt. Route the compatible replacement over the drive and opposite pulley, following the original path with the teeth seated correctly (See Figure 2.1, right).
2.3 Secure the first fixing clamp to the new belt and attach it to the corresponding carriage mounting point (See Figure 2.2).
Step 3. Secure the Second End and Align the Belt
3.1 Bring the other belt end to its carriage fixing position. Establish the required length before trimming the excess open belt; preserve enough belt for full engagement in the clamp (See Figure 3.1, left).
3.2 Secure the second end clamp to the belt and tighten its screws (See Figure 3.1, right).
3.3 Attach the second clamp to the left carriage fixing point (See Figure 3.2, left).
3.4 Adjust the upper and lower screws on the left pulley assembly to correct its angle. Check the belt tracking and tension with the power disconnected (See Figure 3.2, right).
Step 4. Remove and Open the Reduction Drive Unit
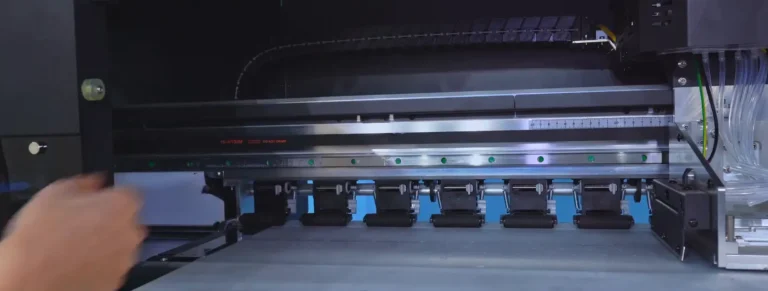
4.1 Check that the new carriage belt has no twist or excessive slack. Move the belt by hand to check its route (See Figure 4.1, left).
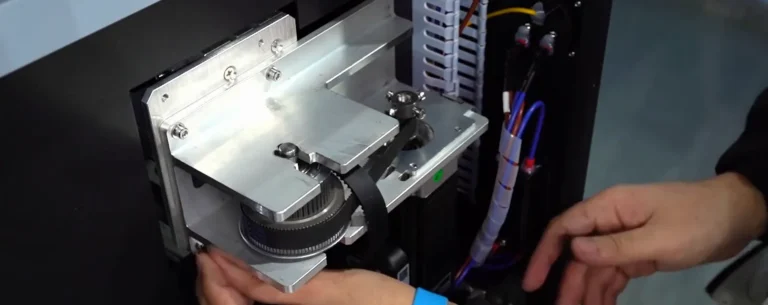
4.2 For reduction belt replacement, release the drive mounting plate. Record and disconnect the motor lead if necessary to remove the unit, then lift it out while supporting the attached carriage belt (See Figure 4.1, right).
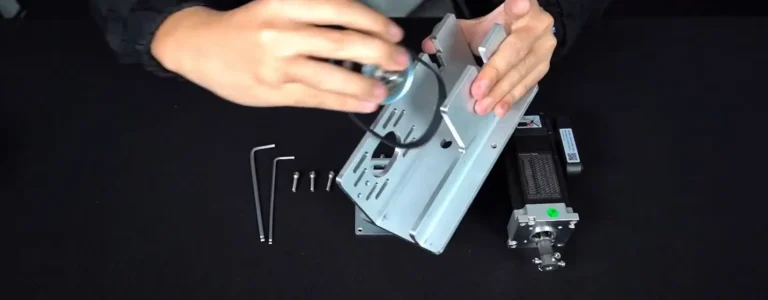
4.3 Loosen the four motor mounting screws. Remove the four screws securing the adjoining drive plate and separate the parts to free the old reduction belt (See Figure 4.2).
Step 5. Fit the New Reduction Belt and Set Tension
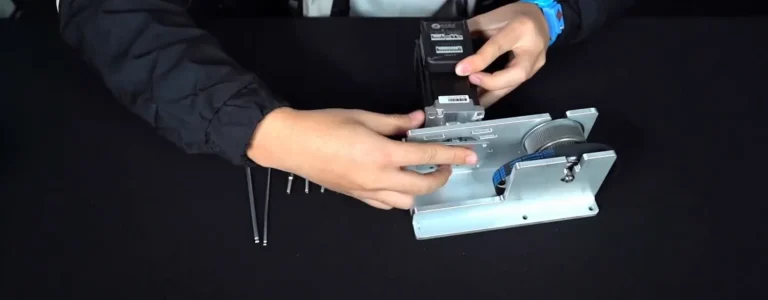
5.1 Replace the old reduction belt with a matching compatible belt. Seat it on the pulleys and reassemble the drive plate (See Figure 5.1, left).
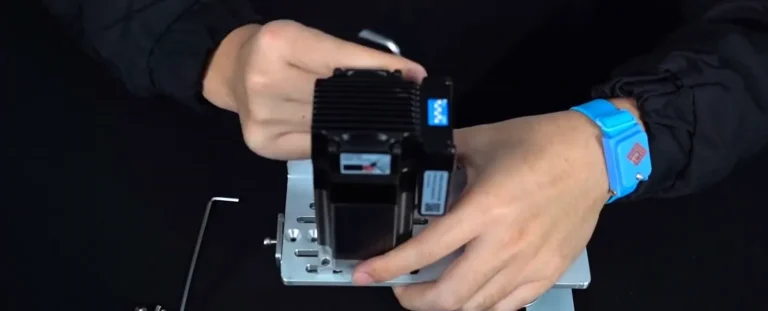
5.2 Return the motor to the assembly and engage its pulley in the belt (See Figure 5.1, right).
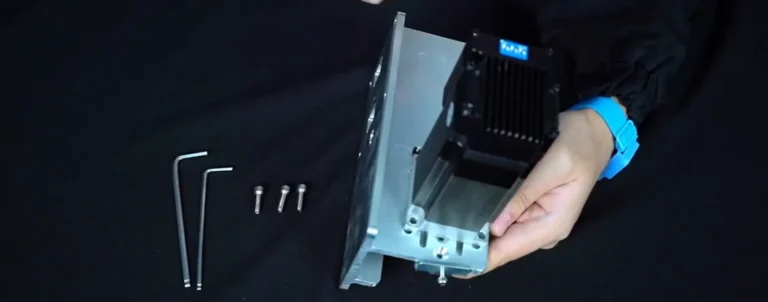
5.3 Preserve the motor orientation. On the illustrated unit, the side with the blue mark faces upward (See Figure 5.2, left).
5.4 Use the side adjustment screw to set the belt tension, then tighten the motor mounting screws to secure the position (See Figure 5.2, right).
Step 6. Reinstall the Drive and Restore the Covers
6.1 Check and tighten the drive unit screws before returning it to the printer. Refit the mounting plate and tighten its fixing screws (See Figure 6.1).
6.2 Restore the long carriage belt to its original pulley route and reconnect any motor lead disconnected earlier. Check both belts for correct seating and clearance (See Figure 6.2, left).
6.3 Restore the recorded printhead base plate height. Refit the carriage cover and both side covers, keeping wires and tubes clear (See Figure 6.2, right).