If you’ve ever wondered how custom sportswear achieves those bright, all-over prints that survive hundreds of washes — or how a mug can have a perfectly reproduced photo that won’t scratch off — the answer is dye sublimation. It’s one of the most durable, vibrant, and versatile digital printing processes available today.
This guide walks you through the entire dye sublimation printing process, step by step, so you understand exactly what happens from file to finished product.
What Makes Dye Sublimation Different?
Traditional inkjet printing deposits ink on top of a substrate’s surface. Dye sublimation does something fundamentally different: it converts ink into a gas that physically bonds with the substrate at a molecular level.
The result is a print that is part of the material itself — not sitting on top of it. There’s no texture, no peeling, no cracking. Colors stay vibrant for years, even after repeated washing.
Step 1: Design Preparation
The sublimation process starts on your computer before any ink touches paper.
File Setup Requirements
- minimum 150 DPI at final output size (300 DPI preferred for detail-heavy artwork)
- design in RGB (not CMYK — sublimation printers use RGB-based ICC profiles)
- use the ICC profile specific to your printer + ink + substrate combination
- TIFF, PDF, PNG (lossless preferred; avoid JPEG for graphics with sharp edges)
- add 0.25″–0.5″ bleed for all-over garment prints to prevent white edges after cutting
Mirror Printing
This is a critical step that many beginners miss: sublimation designs must be printed mirrored (flipped horizontally). When you place the transfer paper face-down on the substrate and apply heat, the mirror image transfers correctly onto the product.
⚠️ Important: Failing to mirror your image is one of the most common and costly beginner mistakes. Always verify your mirror setting in your RIP software or printer driver before printing.
Step 2: Printing onto Transfer Paper
With your design file prepared, the next step is printing it onto sublimation transfer paper using sublimation ink.
How Sublimation Ink Works
Sublimation ink is a dye-based ink that exists in solid form at room temperature. Unlike pigment-based inks, sublimation dye is formulated to undergo phase transition — from solid directly to gas — when exposed to high heat. This is the sublimation reaction itself.
At room temperature and after printing, the ink sits on the surface of the transfer paper in a semi-stable state. It is not yet permanently bonded to anything.
Printer Settings for Optimal Output
- high or best quality setting for maximum ink density
- select the setting closest to ‘matte photo’ or ‘presentation paper’
- use your calibrated ICC profile; let the RIP software or driver manage colors
- allow prints to fully dry before heat pressing (1–3 minutes minimum)
Transfer Paper Selection
The paper you print on affects ink release and image sharpness. High-release papers transfer more ink to the substrate — giving more vibrant output. Low-release papers are useful for fine detail and reduced bleeding on delicate fabrics.
Step 3: Preparing the Substrate
Sublimation only works on polyester fabric (typically 65%+ polyester for vibrant output, 100% poly for best results) and polymer-coated hard goods (mugs, phone cases, aluminum panels, etc.).
Before pressing:
- for 3–5 seconds to remove moisture and wrinkles
- Ensure substrate is clean and free of dust, oils, or lint
- For garments, use lint rollers and keep the work surface clean
- Polymer-coated hard goods should be stored in sealed packaging until use
Pro Tip: Moisture trapped in fabric during pressing causes ghosting and dull colors. Always pre-press garments before sublimation transfer.
Step 4: Heat Transfer — The Sublimation Reaction
This is where the chemistry happens. The printed transfer paper is positioned face-down on the substrate, secured with heat-resistant tape, and placed in the heat press.
The Three Variables of Sublimation
Every sublimation transfer is controlled by three interdependent variables:
1. Temperature
Typical range: 380°F–428°F (193°C–220°C). At this temperature, the sublimation dye converts from solid to gas and opens the polymer structure of the substrate.
- dull, incomplete color transfer
- scorching, color shift (especially in yellows and reds), fabric damage
2. Pressure
Consistent, even pressure ensures full contact between transfer paper and substrate.
- uneven transfer, light spots, blurry edges
- crushed fabric texture, distortion on rigid substrates
Most flatbed presses use medium pressure. Calendering (roll-to-roll) presses use precisely calibrated roller pressure.
3. Dwell Time
The time the press remains closed — typically 45–90 seconds depending on substrate type.
- 45–55 seconds
- 60–75 seconds
- 150–180 seconds in a mug press
- 60–90 seconds
What’s Happening at a Molecular Level
During the press cycle, the combination of heat and pressure causes three simultaneous events:
- The sublimation dye converts from solid to gas (sublimation)
- The polymer structure of the substrate expands and opens, creating microscopic voids
- The gaseous dye molecules penetrate and bond inside the substrate’s polymer structure
When the press opens and the substrate cools, the polymer contracts — permanently trapping the dye inside. The transfer paper is discarded; all the ink has migrated to the substrate.
Step 5: Post-Press Handling
After the press opens, proper handling ensures the best finished result:
- (hot peel) or allow to cool first (cold peel) depending on the paper type
- — it will be very hot immediately after pressing
- — any issues (ghosting, missing areas, color shift) are easiest to diagnose while the press settings are fresh
- to prevent creasing
⚠️ Ghosting Warning: If the transfer paper shifts even slightly while the substrate cools, you can get a ‘ghost’ — a faint double image. Always wait until the substrate is fully cool before moving the transfer paper (cold-peel papers) or peel immediately while hot (hot-peel papers).
Common Sublimation Process Problems & Solutions
Dull or Washed-Out Colors
- insufficient temperature, dwell time, or pressure
- increase temperature by 5°F increments; check press calibration with a digital thermometer
Color Shifting / Hue Changes
- temperature too high; incorrect ICC profile
- reduce temperature; re-calibrate color profile; test with controlled swatches
Ghosting (Double Image)
- transfer paper moved during or after pressing
- use more heat-resistant tape; switch to hot-peel paper; avoid moving substrate until fully cooled
White or Light Spots
- moisture in substrate; uneven pressure; dust/debris on platen
- pre-press longer; clean press platen; check pressure calibration
Color Bleeding / Soft Edges
- ink bleed on transfer paper; too much ink density
- switch to a lower-bleed paper; reduce ink saturation in RIP; use higher DPI
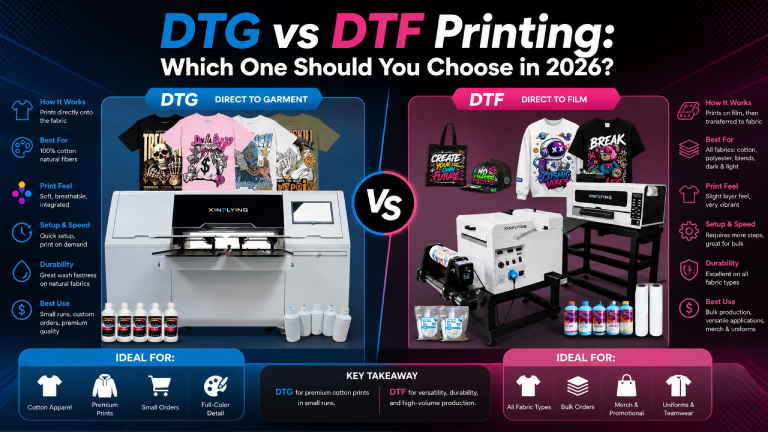
Sublimation vs. Other Printing Processes
Understanding where sublimation excels helps you choose the right process for each job:
- sublimation has no setup costs, handles photographic detail, but requires polyester substrates
- sublimation bonds to substrate at molecular level; DTF uses an adhesive film and works on cotton
- sublimation is seamless with no feel or texture; HTV sits on top of fabric
- sublimation requires polyester; DTG works on cotton, but produces less vibrant colors on poly
Quality Control in the Sublimation Process
Consistent output requires systematic quality control:
- print and press a standard color chart weekly; compare against reference with a spectrophotometer
- use press thermocouples or calibration tools to verify actual vs. displayed temperature
- use pressure-sensitive film to verify even pressure distribution across the platen
- weigh cartridges to track ink consumption and identify head clogging
Environmental & Safety Considerations
Dye sublimation is considered a low-environmental-impact printing process compared to many alternatives:
- unlike screen printing, sublimation uses no water in the transfer process
- sublimation ink does not require chemical fixatives or washout
- some off-gassing occurs during pressing — ensure adequate ventilation in the press area
- finished products are fully recyclable with no ink separation required
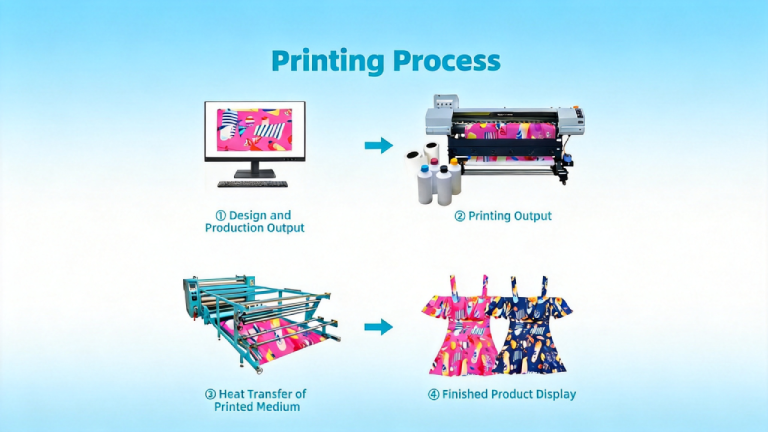
Summary: The Dye Sublimation Process at a Glance
The dye sublimation printing process in 5 steps:
- — Create your artwork in RGB, mirrored, with proper bleed and ICC profile
- — Output to sublimation transfer paper using sublimation ink
- — Pre-press substrate; position transfer paper face-down; tape securely
- — Apply heat (385–428°F), pressure, and dwell time (45–90 sec)
- — Peel transfer; inspect; cool; quality check
When each step is executed correctly, dye sublimation delivers unmatched color vibrancy, durability, and detail — making it the preferred process for premium custom print products worldwide.