Replace Wiper Blade

Select Your Printer Model
(Default: Universal)
Choose your model from the drop-down menu below.

XINFLYING Replace Wiper Blade

Applicable Model: Universal

Video Tutorial

Replace the wiper blade in the printer maintenance station. Preserve the blade orientation and secure both the blade and its base in their original positions.

Applicable model: General. Required items: compatible replacement wiper blade, M3 hex socket screwdriver, and a screwdriver suitable for the blade fixing screws.

Step 1. Remove the Wiper Blade Assembly

1.1 Position the carriage to provide access to the maintenance station and switch off and unplug the printer before handling the components.

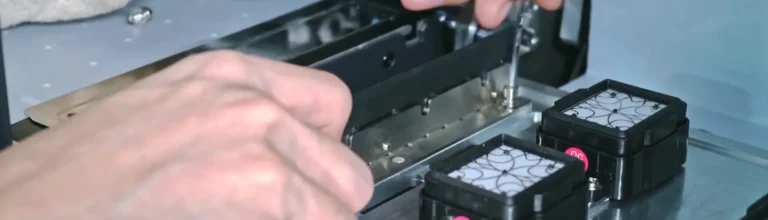
1.2 Use the M3 hex socket screwdriver to remove the three mounting screws that secure the wiper base to the maintenance station. Lift out the blade and base assembly (See Figure 1.1).

Remove the three base mounting screws before lifting out the assembly.

1.3 Loosen the three screws that secure the blade to its base, then remove the old blade. Keep the base and screws for reuse (See Figure 1.2).

Remove the three blade fixing screws and separate the blade from the base.

Step 2. Fit and Reinstall the New Wiper Blade

2.1 Place the new blade onto the base with its curved side facing the unbent side of the base (See Figure 2.1).

Check the curved side of the new blade before securing it to the base.

2.2 Align the blade with the base and tighten the three blade fixing screws (See Figure 2.2).

Secure the new blade to the base with three screws.

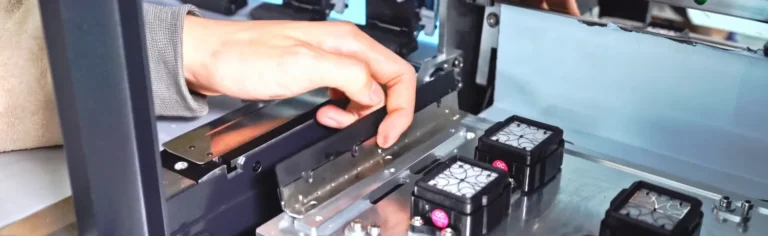
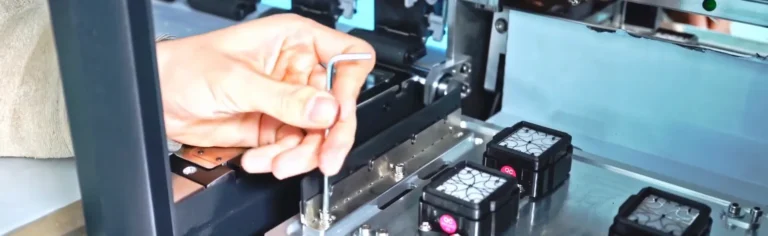
2.3 Return the assembled blade and base to their original position in the maintenance station. Reinstall and tighten the three base mounting screws (See Figure 2.3).

Position the assembly.
Secure the base mounting screws.

If you are not sure about any step, please contact the XINFLYING Technical Support Team for assistance.

© 2026 XINFLYING Technical Team. All rights reserved.
Do not reproduce or modify this document without permission.
For support, please contact: [email protected] | www.xin-flying.com

Request an Equipment Quote

Tell us your equipment and production needs. Our team will recommend a suitable machine and provide a tailored quotation.