Replace an existing ink damper on the T604 printer. Isolate the ink line before removing the old damper, then reconnect the new damper and restore ink flow.
Applicable model: T604. Required items: compatible replacement damper, screwdriver, scissors, ink tube clamp, tape, dust-free cloth, and a tool for easing the tube off the damper.
Step 1. Position the Carriage and Remove the Cover
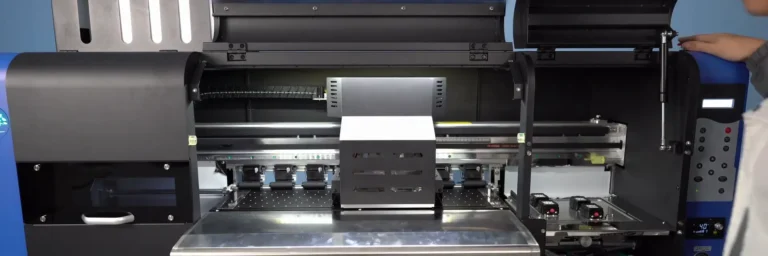
1.1 Switch on the printer and use the carriage controls to move the carriage to the center. Switch off and unplug the printer before handling the carriage components (See Figure 1.1).
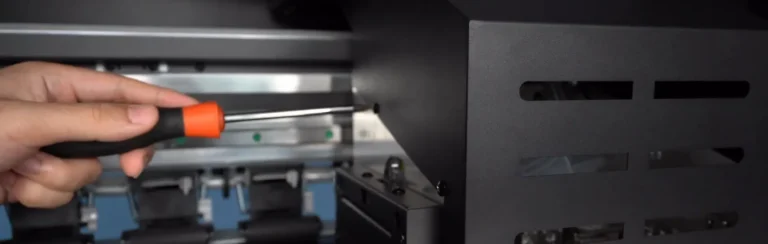
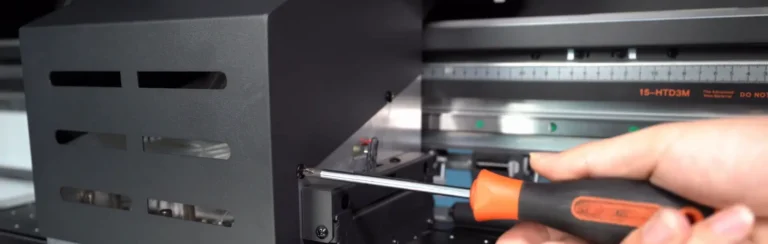
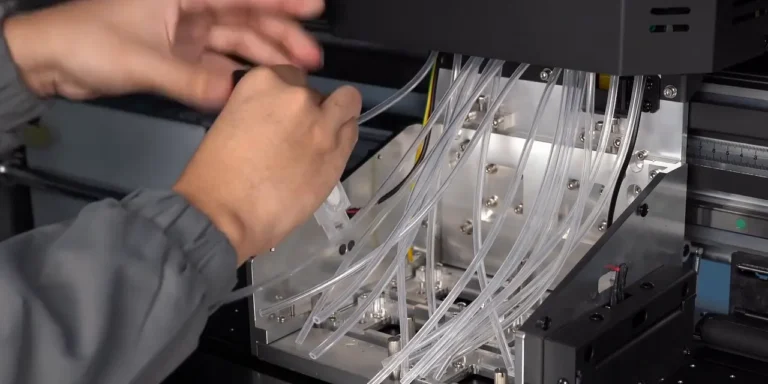
1.2 Loosen the four screws around the carriage housing and remove the cover to access the ink tubes (See Figure 1.2).
Step 2. Isolate the Ink Line and Remove the Old Damper
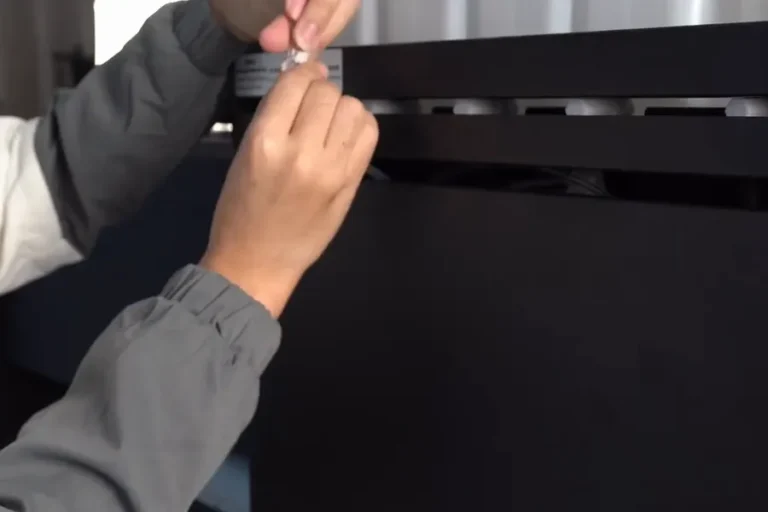
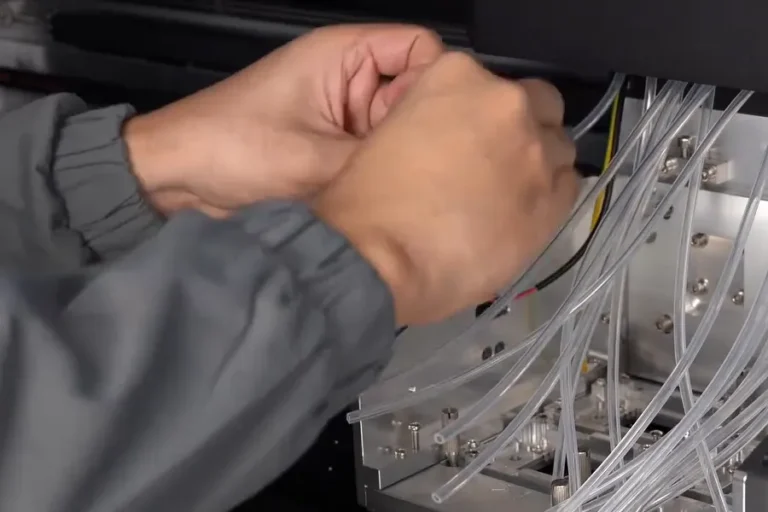
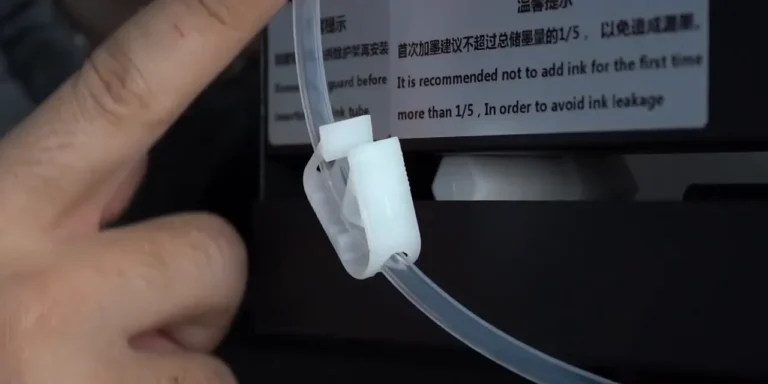
2.1 For an existing ink line, close the ink tube clamp to stop ink flowing toward the damper (See Figure 2.1, left).
2.2 Fold the tube near the damper connection and hold the fold closed with tape. Keep the clamp closed while replacing the damper (See Figure 2.1, right).
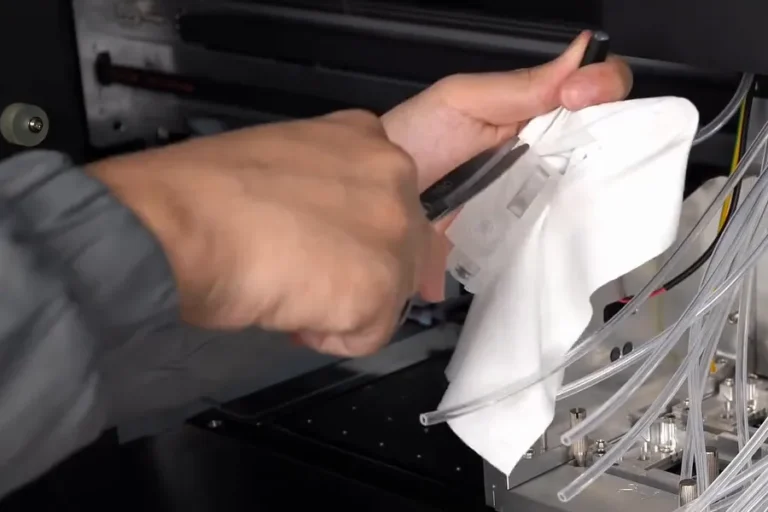
2.3 Wrap the damper and connection area in cloth to catch ink. Use a tool to ease the tube off the old damper inlet (See Figure 2.2, left).
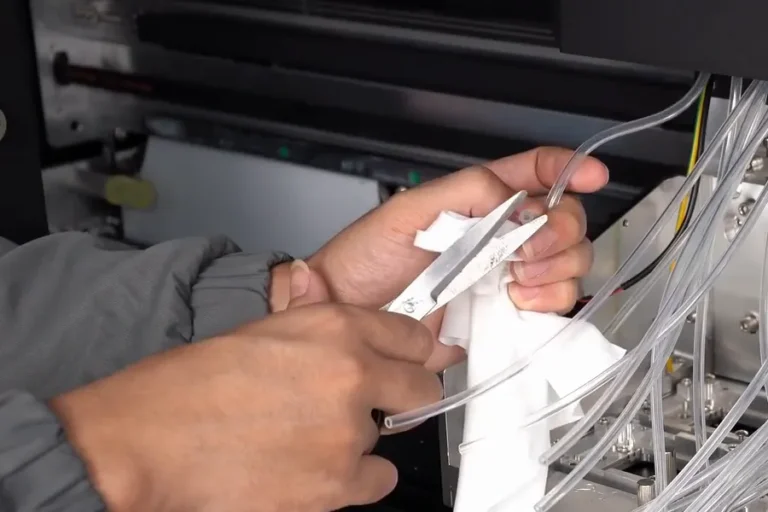
2.4 Cut off the deformed section at the tube end so the new damper can connect to an undamaged section (See Figure 2.2, right).
Step 3. Connect the New Damper and Restore Ink Flow
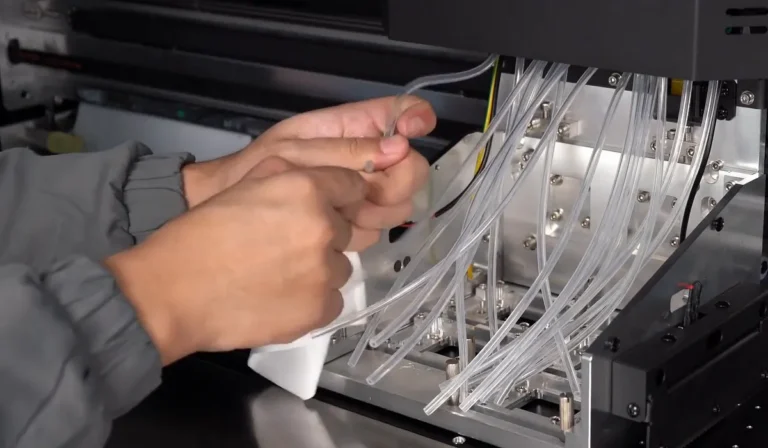
3.1 Push the trimmed ink tube onto the new damper inlet and check that the connection is secure (See Figure 3.1).
3.2 Remove the tape and release the temporary fold in the ink tube (See Figure 3.2, left).
3.3 Open the ink tube clamp to let ink flow into the new damper (See Figure 3.2, right).