
Idle Maintenance (3–7 Days)
Select Your Printer Model
(Default: Universal)
Choose your model from the drop-down menu below.
XINFLYING Idle Maintenance (3–7 Days) -1
Applicable Model: Universal
Video Tutorial
Inspect the printhead connections, decoder indicators, ink output, waste ink bottle, and ink sediment before a short idle period.
Applicable model: General. Required items: suitable cleaning materials, a waste ink container, and the printer nozzle test function.
Step 1. Check the Printhead and Ink Output
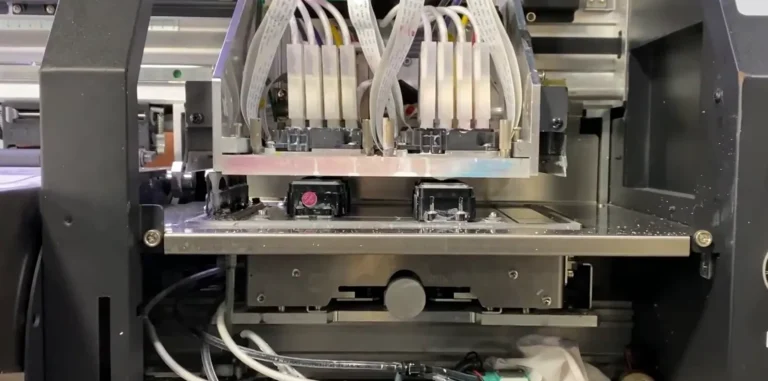
1.1 Switch off and unplug the printer before inspecting the printhead electrical interfaces. Check for ink or water on the connections and keep them dry (See Figure 1.1, left).
1.2 Restore the covers, then power on the printer. Observe whether the decoder card indicators illuminate without touching the powered boards (See Figure 1.1, right).


1.3 Print a nozzle test and check that every CMYK and white ink channel produces normal output.
Step 2. Clean Waste Ink and Check Sediment
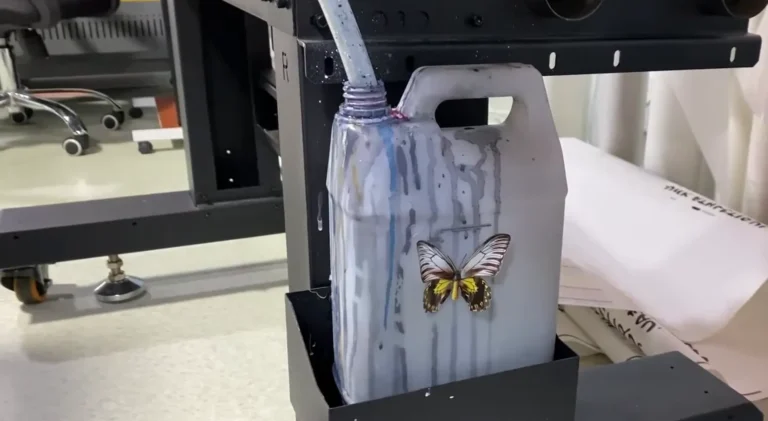
2.1 Switch off and unplug the printer before handling the waste ink bottle. Empty and clean the bottle, then restore its tube connection (See Figure 2.1, right).
2.2 Check the ink reservoirs for sediment (See Figure 2.1, left). If pigment has settled, mix the ink in the reservoir as appropriate for its design before printing again.
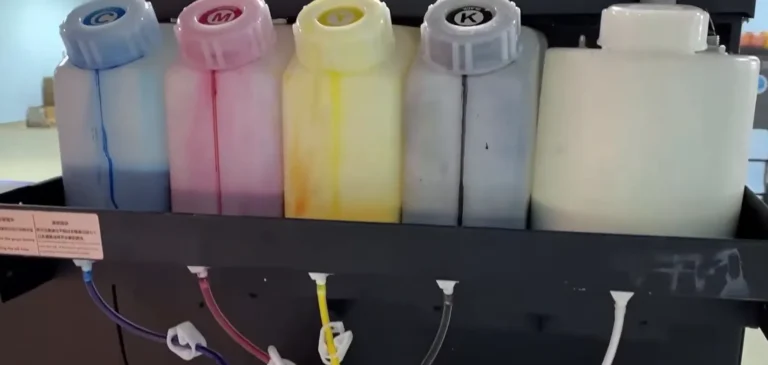
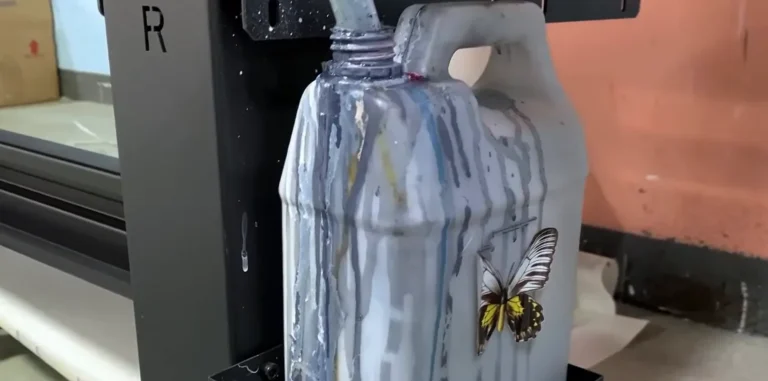
1.3 Print a nozzle test and check that every CMYK and white ink channel produces normal output.
XINFLYING Idle Maintenance (3–7 Days) - 2
Applicable Model: Universal
Video Tutorial
Check the printhead electrical interfaces, decoder indicators, nozzle output, waste ink bottle, and white ink circulation system before a short idle period.
Applicable model: General. Required items: screwdriver, suitable cleaning materials, waste ink container, and the printer nozzle test function.
Step 1. Inspect the Printhead Connections
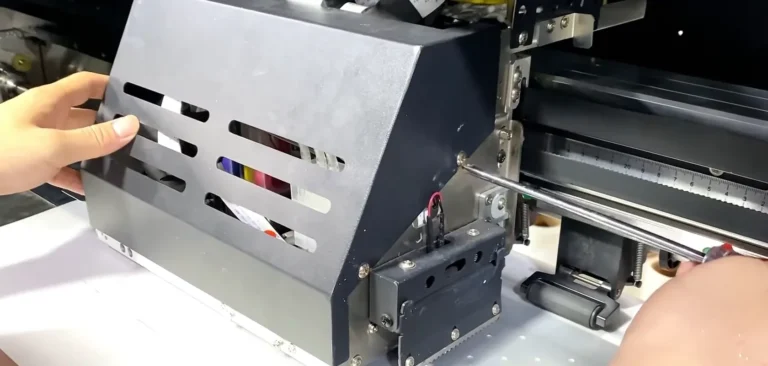
1.1 Switch off and unplug the printer. Remove the carriage cover to access the printhead ribbon cables and interfaces (See Figure 1.1, left).
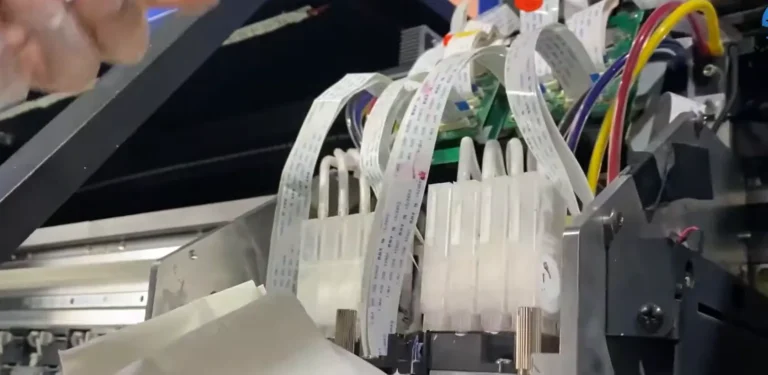
1.2 Inspect the printhead interfaces for ink or water. Remove any liquid with the power disconnected and ensure the electrical contacts are dry before startup. Refit the cover after inspection (See Figure 1.1, right).
Step 2. Check Indicators and Nozzle Output
2.1 Power on the printer and observe the decoder indicator lights without touching the powered boards (See Figure 2.1).

2.2 Print a nozzle test and confirm normal output from every CMYK and white ink channel.
Step 3. Check Waste Ink and White Ink Circulation
3.1 Switch off and unplug the printer. Empty and clean the waste ink bottle, then restore its tube connection (See Figure 3.1, left).
3.2 Check for sediment in the white ink circulation system. Address any buildup using the applicable ink system maintenance procedure (See Figure 3.1, right).
If you are not sure about any step, please contact the XINFLYING Technical Support Team for assistance.
© 2026 XINFLYING Technical Team. All rights reserved.
Do not reproduce or modify this document without permission.
For support, please contact: [email protected] | www.xin-flying.com