
DTF Film Securing on the Platform
Select Your Printer Model
(Default: T604 DTF Printer)
Choose your model from the drop-down menu below.
XINFLYING DTF Film Securing on the Platform
Applicable Model: XINFLYING T604 DTF Printer
Video Tutorial
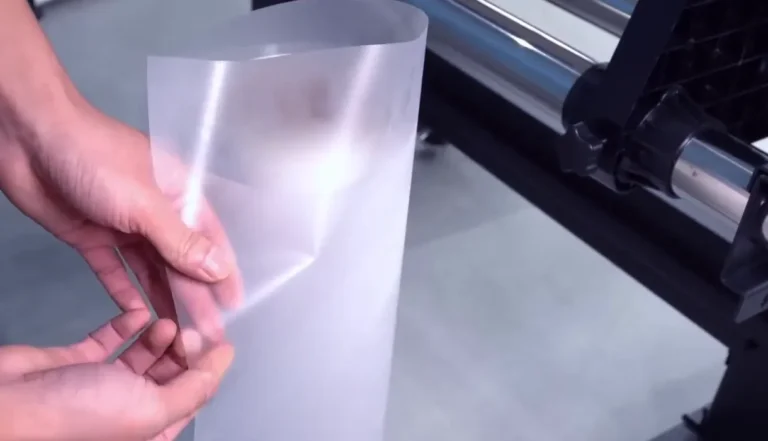
Install a printing film roll on the T604, feed the film beneath the pinch rollers, and align it before printing. The matte printing surface must face upward on the print platform.
Applicable model: T604. Required items: A printing film roll
Step 1. Prepare the Roll Holders
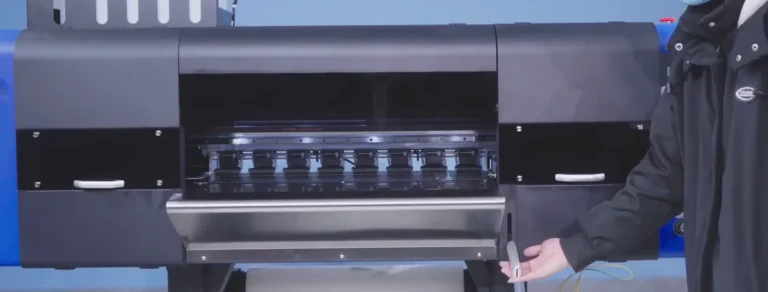
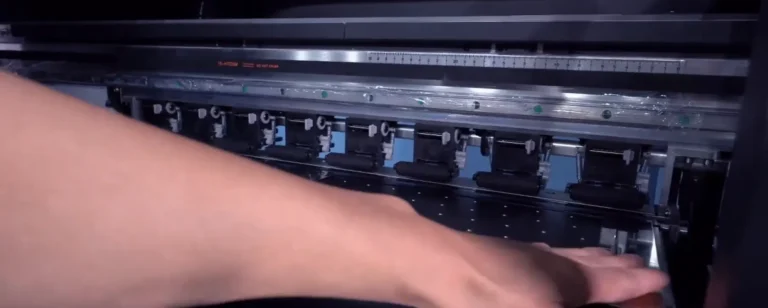
1.1 Raise the pinch rollers using the release lever (See Figure 1.1, left).
1.2 Slide the two film edge clips outward to clear the film path (See Figure 1.1, right).
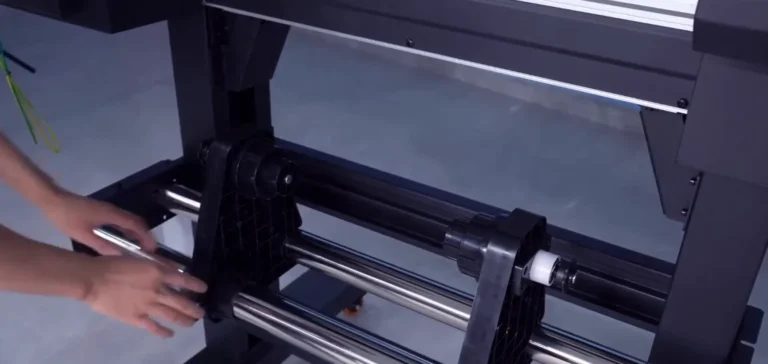
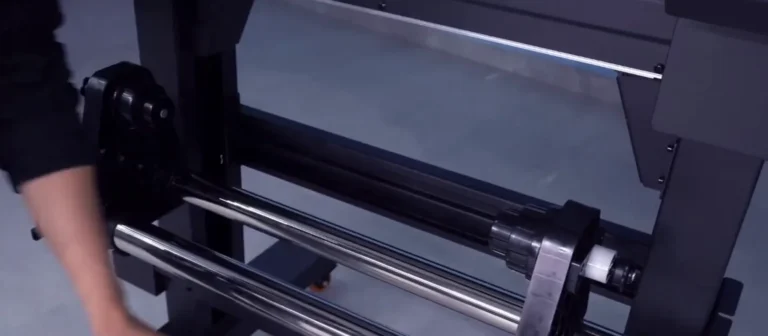
1.3 From the roll holder side, loosen the left holder retaining screw. Slide the holder to the left and tighten the screw to secure it (See Figure 1.2, left).
1.4 Loosen the right holder retaining screw and slide the holder to the right. Leave this screw loose for loading the roll (See Figure 1.2, right).
Step 2. Load and Thread the Film
2.1 Identify the matte and smooth sides of the film. Orient the roll so that the matte side will face upward as the film passes across the print platform (See Figure 2.1, left).
2.2 Fit the left end of the roll core onto the left holder first. Slide the right holder into the other end of the core and secure the roll in position (See Figure 2.1, right).
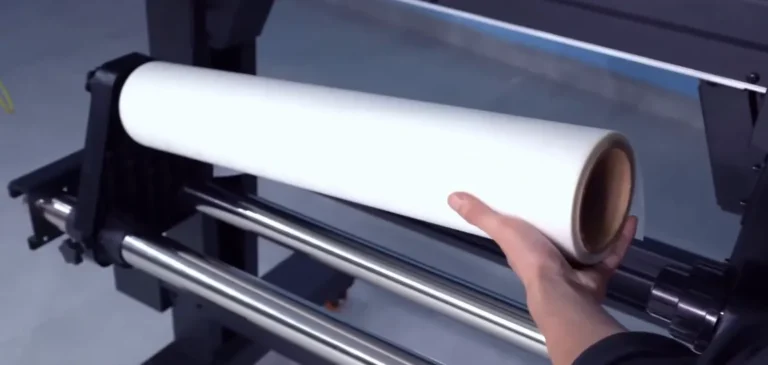
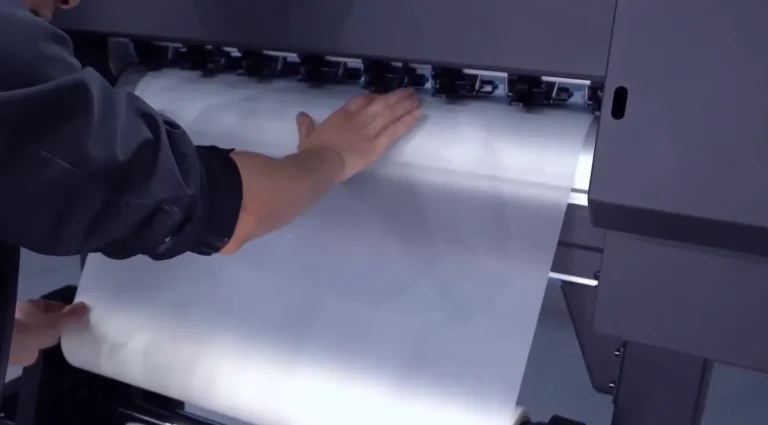
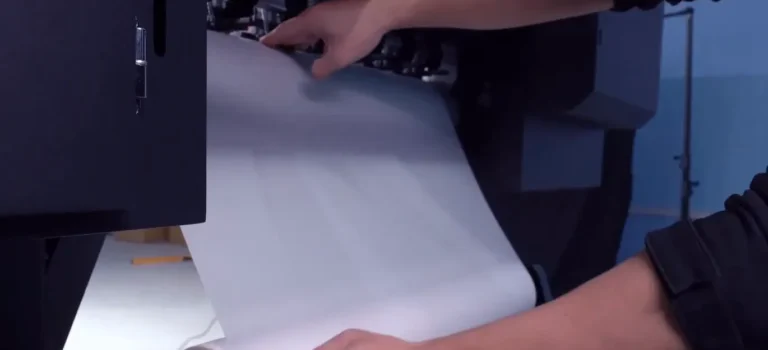
2.3 Unroll the leading edge and feed it beneath the raised pinch rollers onto the print platform. Pull it through so that it lies flat (See Figure 2.2).
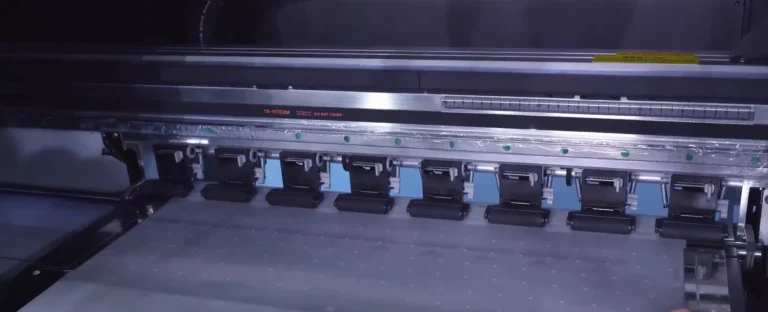
2.4 Lower the pinch rollers so they press onto the film.
Step 3. Adjust and Align the Film
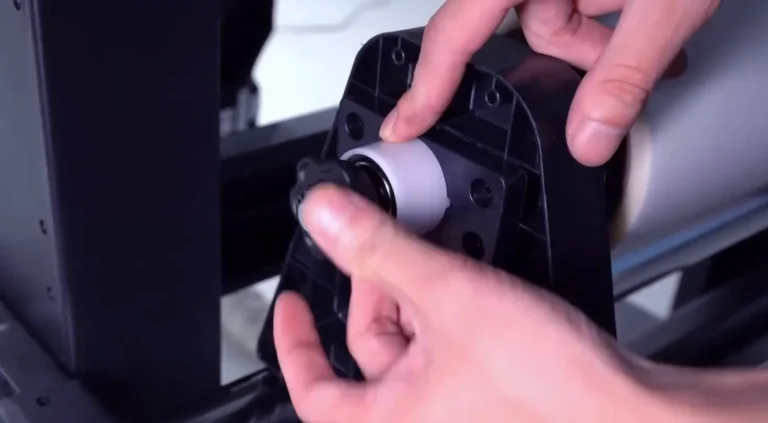
3.1 Turn the damper adjustment knob to leave approximately 8 mm between the white damper ring and the black knob. Set the same gap on the other side (See Figure 3.1).
3.2 Pull the film taut and straight. If the film edges are uneven, raise the pinch rollers and reposition the film until both sides are aligned without protruding. Lower the pinch rollers again (See Figure 3.2, left).
3.3 Slide each edge clip inward so that it overlaps the film edge by approximately 5 mm. Check that the film remains straight and flat to complete installation (See Figure 3.2, right).
If you are not sure about any step, please contact the XINFLYING Technical Support Team for assistance.
© 2026 XINFLYING Technical Team. All rights reserved.
Do not reproduce or modify this document without permission.
For support, please contact: [email protected] | www.xin-flying.com