Adjust the T604 carriage height by releasing the fixing screws, turning the upper adjustment screws, and securing the carriage before refitting its covers.
Required tools: Phillips screwdriver and a matching hex key.
Step 1. Prepare the Carriage and Remove Covers
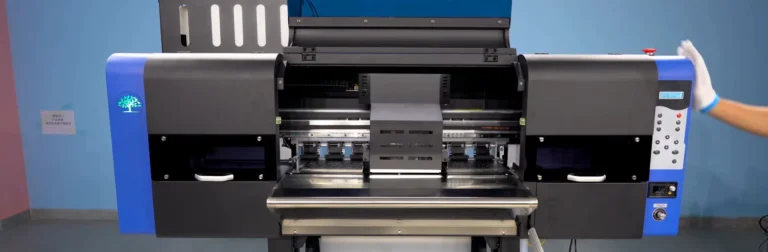
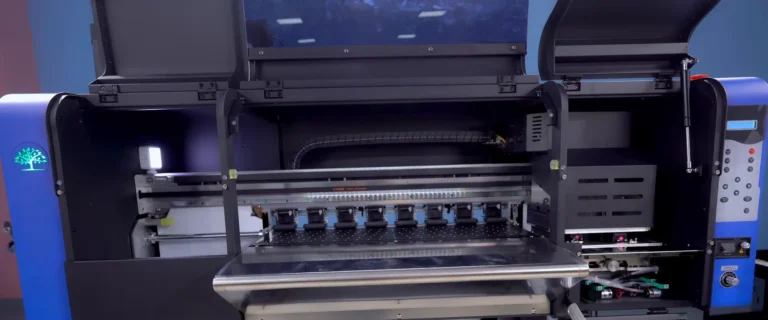
1.1 Press the Left button to move the carriage to the center, then switch off the printer before removing the covers (See Figure 1.1).
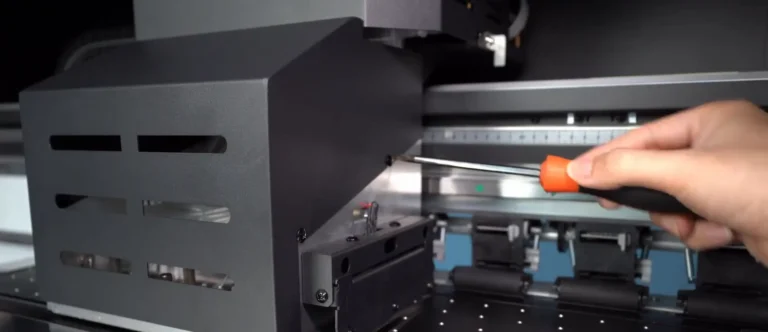
1.2 Loosen the four screws around the carriage cover and remove the cover (See Figure 1.2, left).
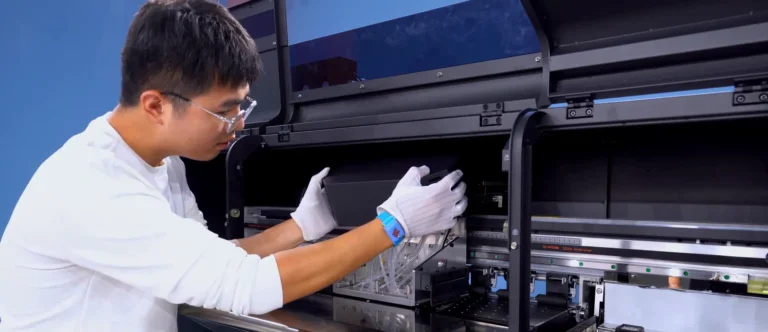
1.3 Loosen the four screws on the headboard cover and remove it to expose the carriage adjustment area (See Figure 1.2, right).
Step 2. Release the Carriage Fixing Screws
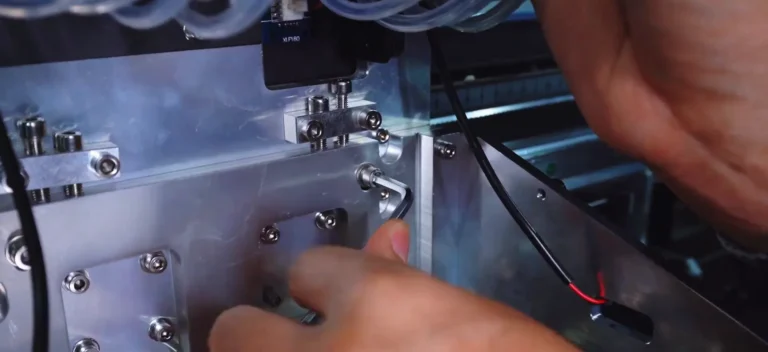
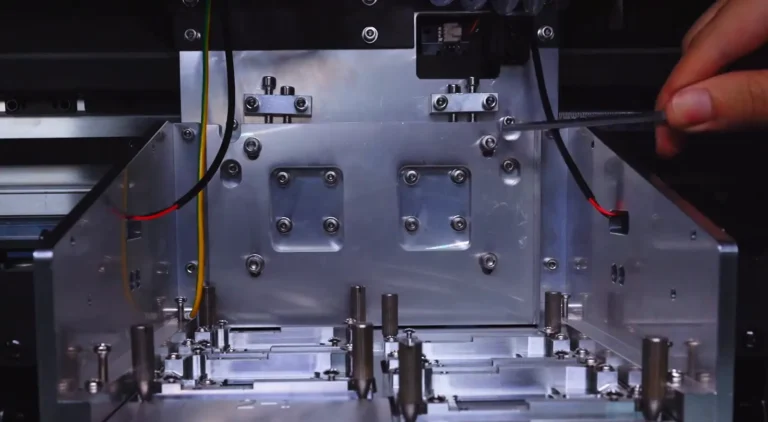
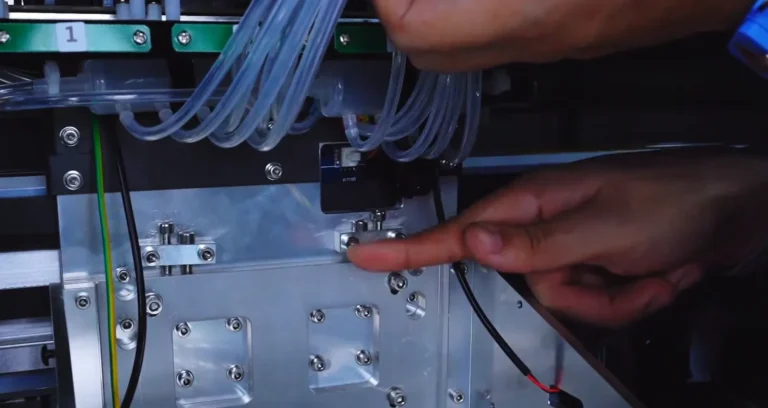
2.1 Loosen the four large fixing screws at the outer corners of the vertical carriage plate. Leave these screws in place (See Figure 2.1).
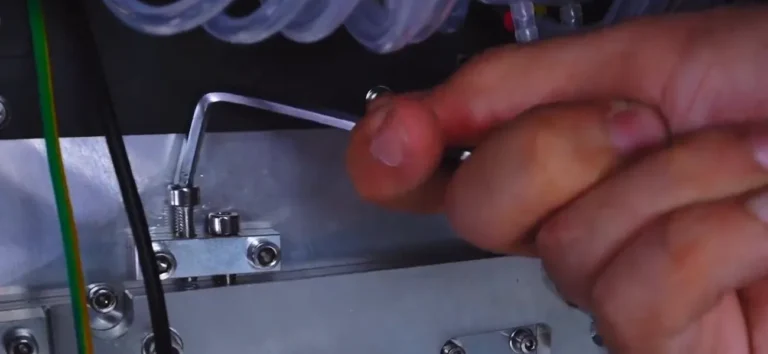
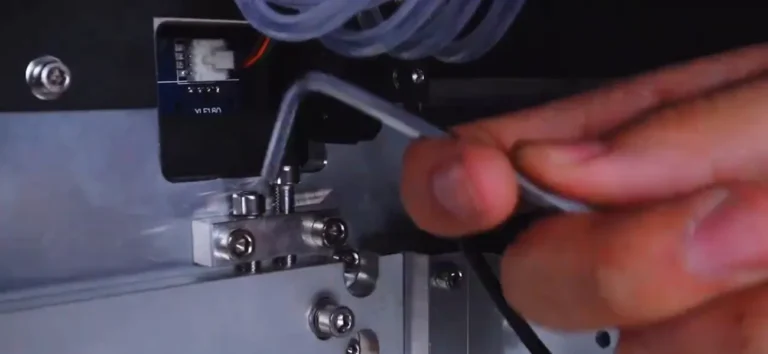
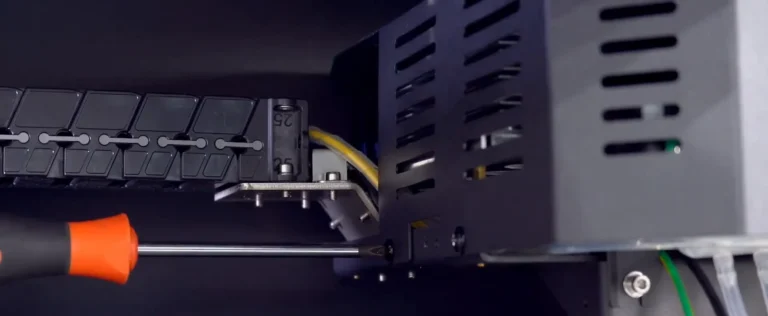
2.2 Loosen the two shorter upper screws, one on each top adjustment block. These sit beside the taller height adjustment screws (See Figure 2.2).
Step 4. Secure the Adjusted Position
4.1 Tighten the four large outer fixing screws on the carriage plate to lock the adjusted position (See Figure 4.1, left).
4.2 Lightly tighten the four screws on the two upper blocks by hand until they no longer move (See Figure 4.1, right).
Step 5. Refit the Covers and Return the Carriage
5.1 Reinstall the headboard cover and tighten its four screws (See Figure 5.1, left).
5.2 Reinstall the carriage cover and tighten its four screws (See Figure 5.1, right).
5.3 Switch on the printer, return the carriage to its starting position, and then switch the printer off (See Figure 5.2).