
Clean Ink Cartridge and Ink Tube
Select Your Printer Model
(Default: Universal)
Choose your model from the drop-down menu below.
XINFLYING Clean Ink Cartridge and Ink Tube
Applicable Model: Universal
Video Tutorial
Drain the ink reservoirs, flush the ink tubes by drawing liquid through the detached dampers, and restore the color connections. Keep each color separate throughout the procedure.
Applicable model: General. Required items: clean labeled ink bottles, syringe, dust-free cloth, tape, and pure water compatible with the installed ink system.
Step 1. Drain the Ink Reservoirs
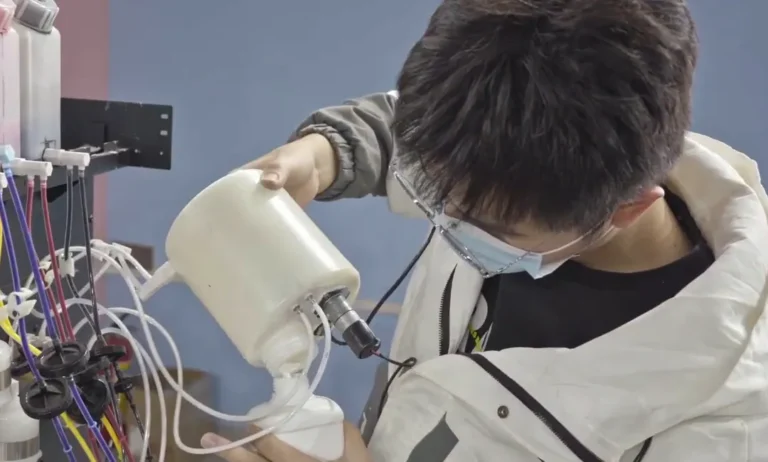
1.1 Switch off and unplug the printer. Remove the reservoir top cover. Record the positions of the ink alarm board connectors before disconnecting any wiring (See Figure 1.1, left).
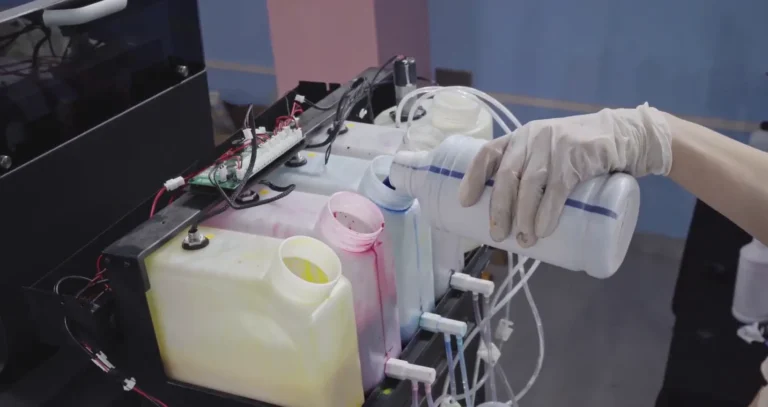
1.2 Prepare a separate clean bottle for each ink color. Pour the remaining ink from each reservoir into its matching bottle. Keep the inks separate and protect them from contamination (See Figure 1.1, right).

Step 2. Identify the Tubes and Remove Remaining Ink
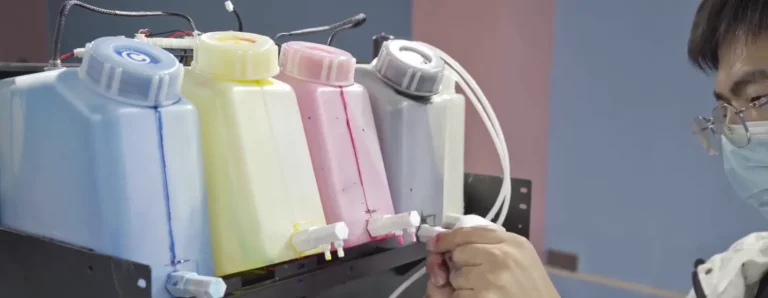
2.1 Disconnect the tubes at the reservoir end and record which port each tube uses. Wrap the color tubes in cloth in groups of four. Keep the white ink tubes in groups of two and identify their upper and lower positions (See Figure 2.1).
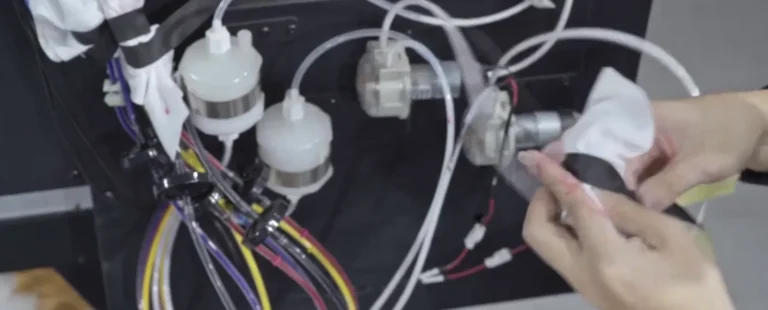
2.2 Lift the dampers off the printheads while keeping their tubes connected. Retain the original damper positions.
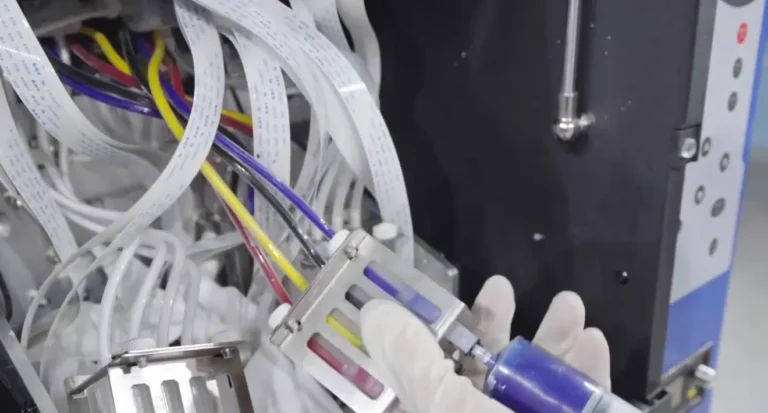
2.3 Connect a syringe to the outlet of each detached damper and draw out the remaining ink from the damper and tube. Collect the extracted ink separately (See Figure 2.2).
Step 3. Flush the Ink Tubes
3.1 Place the reservoir ends of the tubes into a container of pure water. Use water only where approved for the installed ink system (See Figure 3.1, left).
3.2 At the detached damper outlet, pull the syringe plunger to draw water through the tube. Collect the extracted liquid and repeat until the remaining ink has cleared (See Figure 3.1, right).
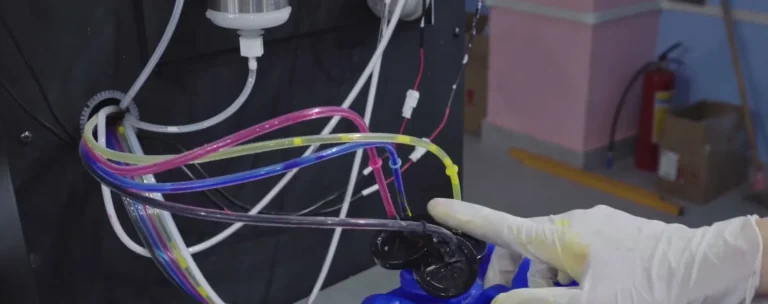

3.3 Flush all color and white ink lines in turn. Keep the tube groups identified. This step uses suction through the detached damper; keep the damper disconnected from the printhead during flushing.
Step 4. Reconnect the Reservoirs and Refill Ink
4.1 Return each tube to its original reservoir port. Preserve the upper and lower positions of the white ink tubes (See Figure 4.1).
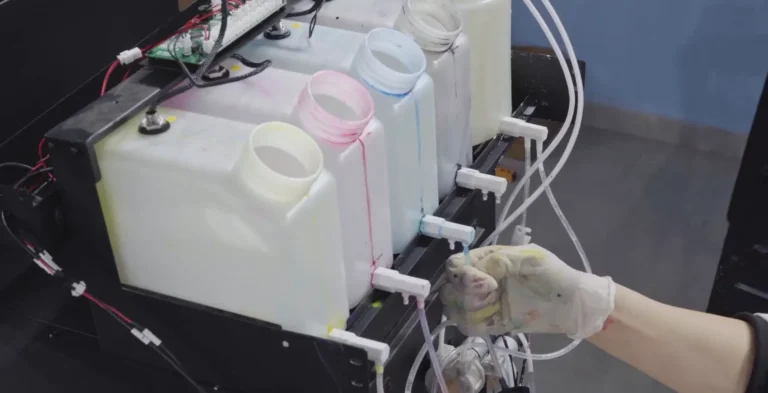
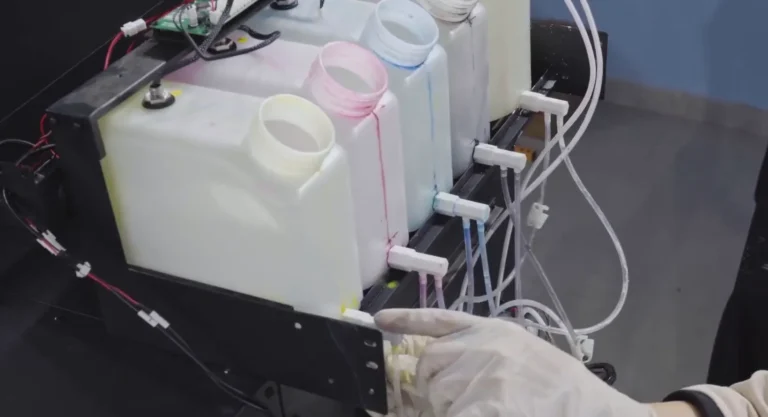
4.2 Pour each retained ink color back into its matching reservoir. Keep the bottle and reservoir color labels matched (See Figure 4.2).
Step 5. Prime the Dampers and Reassemble
5.1 Use the syringe at each detached damper outlet to draw ink through its tube until ink fills the damper. Reinstall the dampers in their original printhead positions (See Figure 5.1).
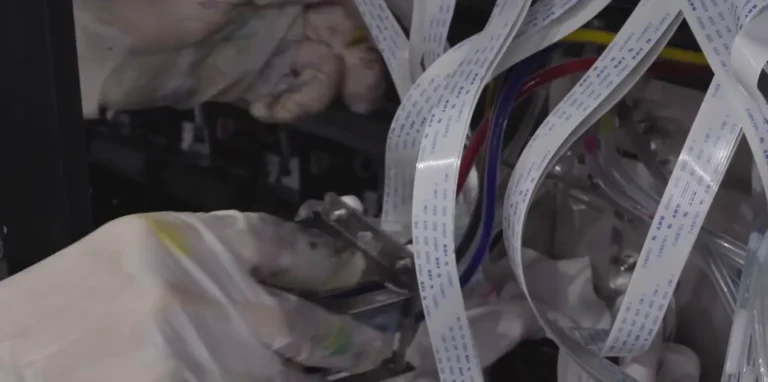
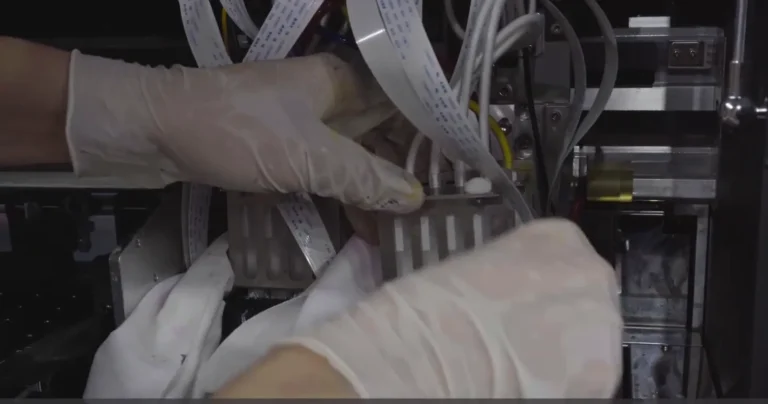
5.2 Reconnect every ink alarm board plug to its recorded position. Check that the plugs are seated and the wires and tubes are clear of the cover edges (See Figure 5.2, left).
5.3 Refit the reservoir top cover. Check the restored connections for loose tubes or visible leakage (See Figure 5.2, right).


If you are not sure about any step, please contact the XINFLYING Technical Support Team for assistance.
© 2026 XINFLYING Technical Team. All rights reserved.
Do not reproduce or modify this document without permission.
For support, please contact: [email protected] | www.xin-flying.com