
Replace Printer Power Switch
Select Your Printer Model
(Default: Universal)
Choose your model from the drop-down menu below.
XINFLYING Replace Printer Power Switch
Applicable Model: Universal
Video Tutorial
Replace the power inlet and switch assembly while preserving its terminal connections.
Applicable model: General. Required items: compatible power inlet and switch assembly, screwdriver, and phone for recording connections.
Step 1. Remove the Switch Assembly
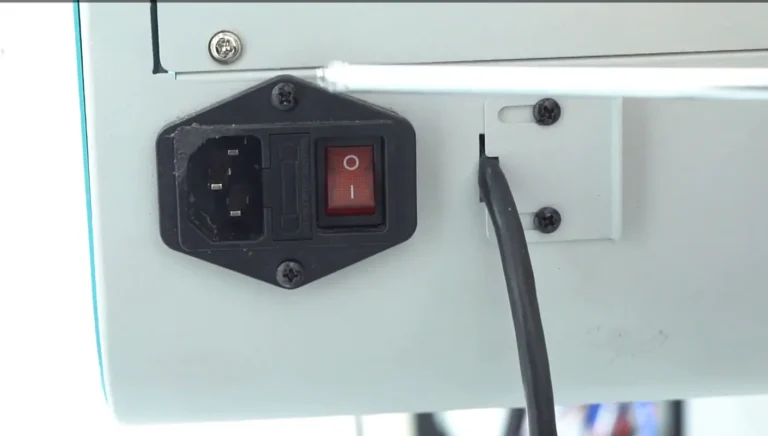
1.1 Switch off the printer and unplug the power cable. Remove the fixing screws from the power inlet and switch assembly (See Figure 1.1, left).
1.2 Ease the assembly out of the panel and photograph its wire positions. Disconnect the insulated terminal connectors while supporting the assembly (See Figure 1.1, right).

Step 2. Connect and Secure the Replacement
2.1 Reconnect each wire to its matching terminal on the compatible replacement using the recorded photograph. Fully seat the insulated connectors (See Figure 2.1, left).
2.2 Fit the assembly into the original panel opening without trapping its wires. Tighten the fixing screws and check that the assembly is secure before reconnecting power (See Figure 2.1, right).


2.3 Reposition the carriage: Push the carriage back to its original position.
2.4 Record the headboard wiring: Open the top cover and take a photo with your phone to record the cable connections (See Figure 2.2).
If you are not sure about any step, please contact the XINFLYING Technical Support Team for assistance.
© 2026 XINFLYING Technical Team. All rights reserved.
Do not reproduce or modify this document without permission.
For support, please contact: [email protected] | www.xin-flying.com