
Replace Powder Shaker Thermostat
Select Your Printer Model
(Default: Universal)
Choose your model from the drop-down menu below.
XINFLYING Replace Powder Shaker Thermostat
Applicable Model: Universal
Video Tutorial
Replace the powder shaker temperature controller and restore its original terminal wiring. Record the terminal positions before disconnecting the wires.
Applicable model: General. Required items: compatible temperature controller, screwdriver, and phone for recording connections.
Step 1. Disconnect and Release the Controller
1.1 Switch off and unplug the powder shaker. Access the rear of the temperature controller and photograph every terminal connection before removal.
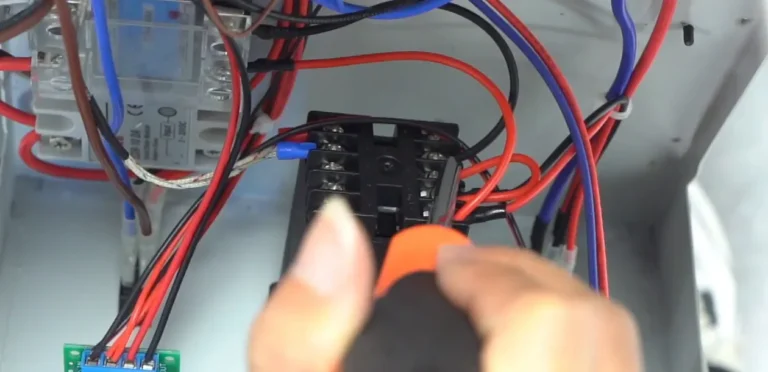
1.2 Loosen the controller terminal screws and disconnect its wires. Keep the wire positions identified for reinstallation (See Figure 1.1, left).
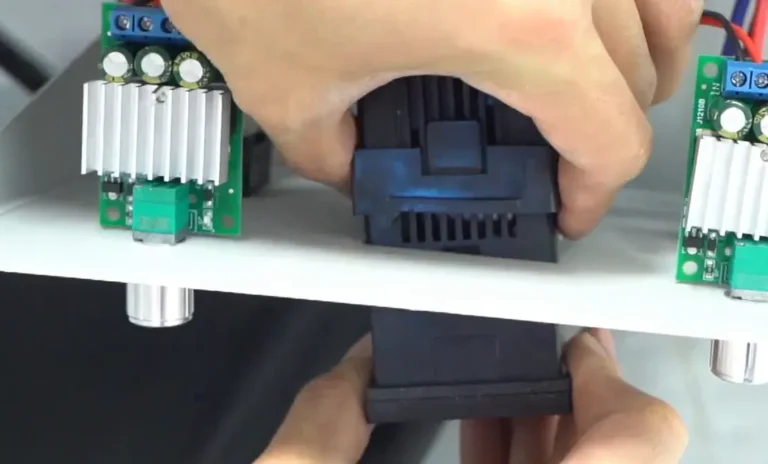
1.3 Press the retaining clips at the upper and lower edges of the controller, then slide the old controller out of the panel opening (See Figure 1.1, right).
Step 2. Fit the Replacement and Restore the Wiring
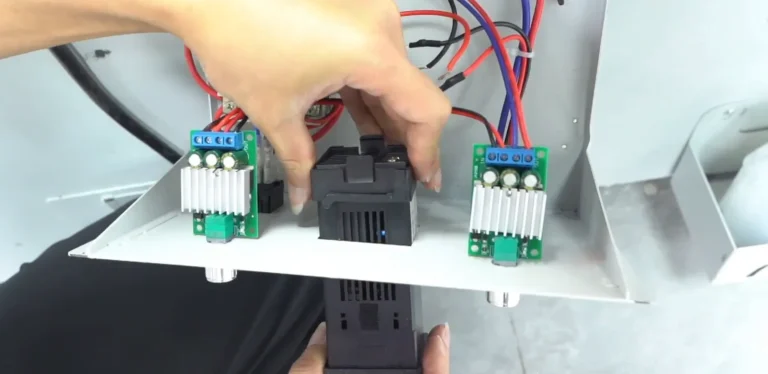
2.1 Insert the compatible replacement controller into the original panel opening and engage its retaining clips so it is securely mounted (See Figure 2.1, left).
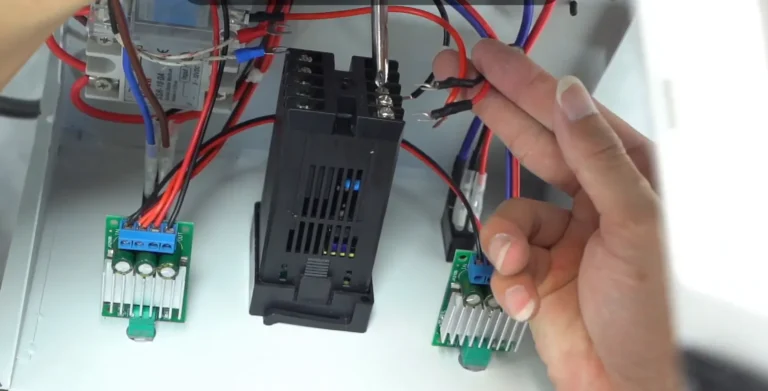
2.2 Reconnect each wire to its original corresponding terminal using the recorded photograph. Tighten the terminal screws and check that the wires are secure (See Figure 2.1, right).
2.3 Refit any service covers opened for access before reconnecting the powder shaker power supply.
If you are not sure about any step, please contact the XINFLYING Technical Support Team for assistance.
© 2026 XINFLYING Technical Team. All rights reserved.
Do not reproduce or modify this document without permission.
For support, please contact: [email protected] | www.xin-flying.com