Prepare the syringe, add water to the cap tops, and return the carriage to its home position. This places the printheads over the wetted cap tops for soaking with the printer switched off.
Step 1. Prepare the Syringe and Water
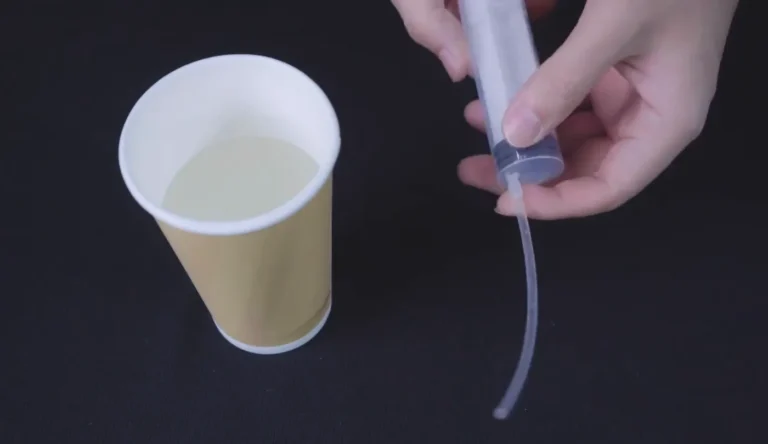
1.1 Prepare a cup of water, a syringe, and a short plastic tube. Remove the syringe from its packaging (See Figure 1.1).
1.2 Push one end of the plastic tube onto the syringe outlet. Make sure the tube is securely attached before drawing water (See Figure 1.2).
Step 2. Expose and Fill the Cap Tops
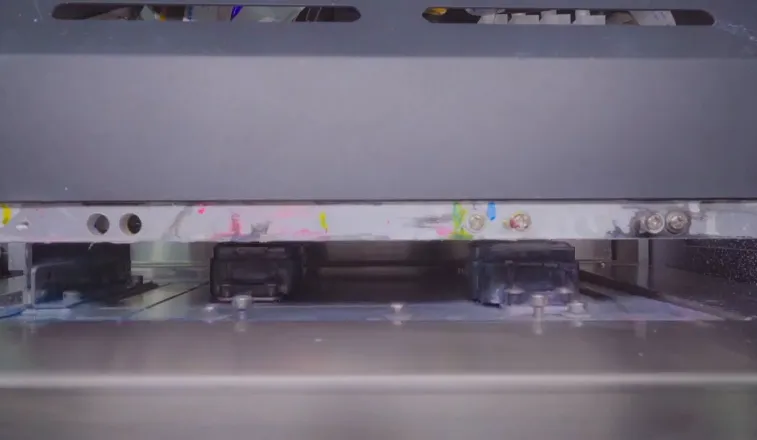
2.1 Open the service cover for access. Use the carriage controls to move the carriage toward the center of the printer and expose the cap tops. Wait until the carriage stops before reaching into the maintenance station (See Figure 2.1).
2.2 Place the free end of the tube in the cup of water and pull back the syringe plunger to draw water into the syringe.
2.3 Position the tube over the first cap top and slowly press the plunger to add water. Repeat for the second cap top. Keep the water below each rim to prevent overflow (See Figure 2.2).
Step 3. Return the Carriage and Switch Off
3.1 Remove the syringe and tube from the maintenance station. Use the carriage controls to return the carriage to its home position above the cap tops (See Figure 3.1).
3.2 Check that the printheads are positioned over the wetted cap tops. Once the carriage has returned and stopped, switch off the printer and leave the carriage in place for soaking (See Figure 3.2).