
Substituir a bomba de tinta
Selecione o modelo da sua impressora
(Padrão: Universal)
Escolha o seu modelo no menu suspenso abaixo.
XINFLYING Replace Ink Pump
Modelo compatível: Universal
Tutorial em vídeo
Replace the ink pump and restore its two tube connections and electrical plug. Mark the original inlet and outlet connections before removal.
Applicable model: General. Required items: compatible ink pump, screwdriver, tape or tube labels, dust-free cloth, and scissors for trimming a deformed tube end if needed.
Step 1. Open the Access Panel and Identify the Tubes
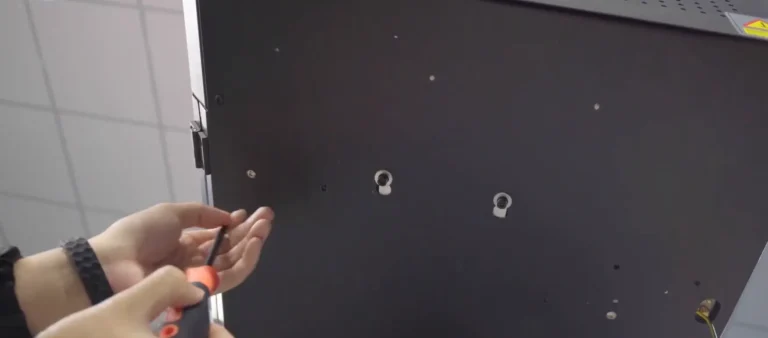
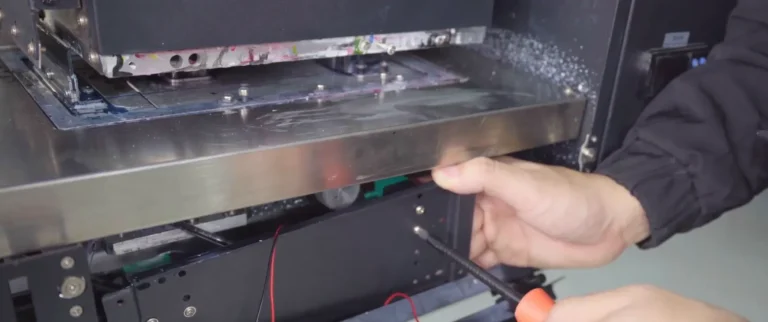
1.1 Switch off and unplug the printer. Remove the four screws securing the lower access panel, then open the panel to expose the ink pump (See Figure 1.1, left).
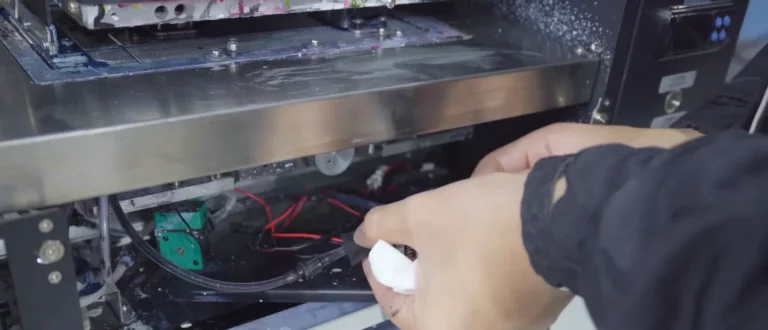
1.2 Mark the two pump tubes and their corresponding fittings with tape. Record the inlet and outlet positions before disconnecting them (See Figure 1.1, right).
Step 2. Disconnect and Remove the Old Pump
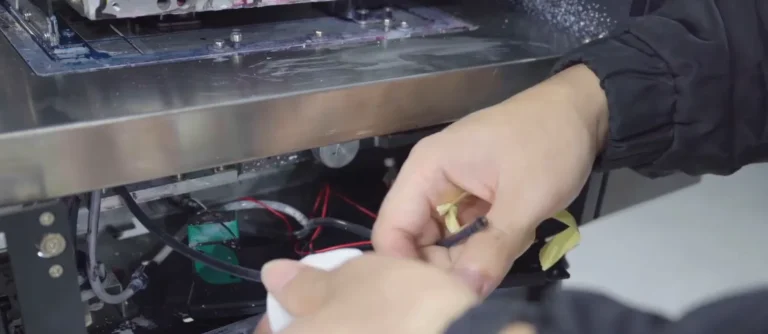
2.1 Pull the two tubes off the pump fittings. If a tube is tight, carefully ease its end away from the fitting with a suitable tool (See Figure 2.1, left).
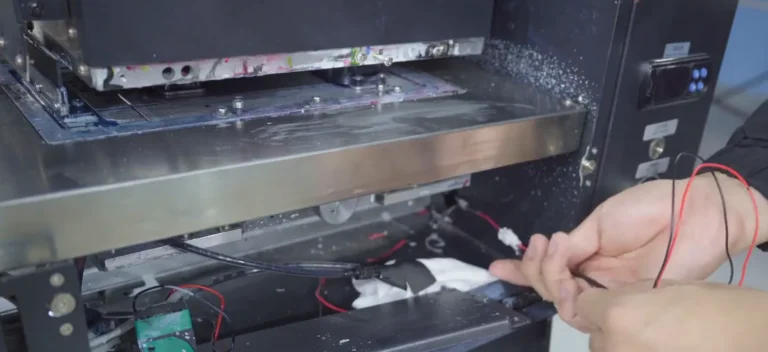
2.2 Wrap the open tube ends in cloth to catch residual ink (See Figure 2.1, right).

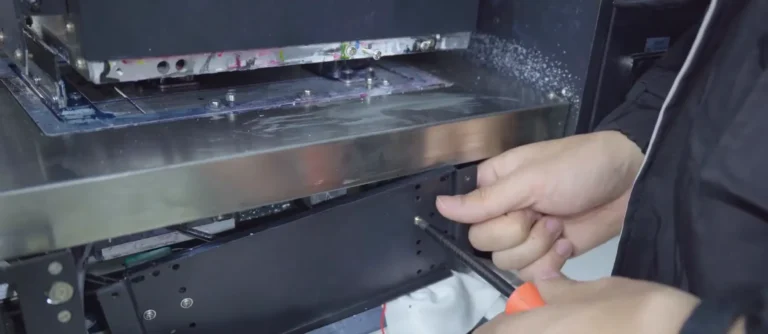
2.3 Remove the two pump mounting screws. Release the electrical connector latch and unplug the pump lead. Lift out the old pump (See Figure 2.2).
Step 3. Install the New Pump and Reconnect the Tubes
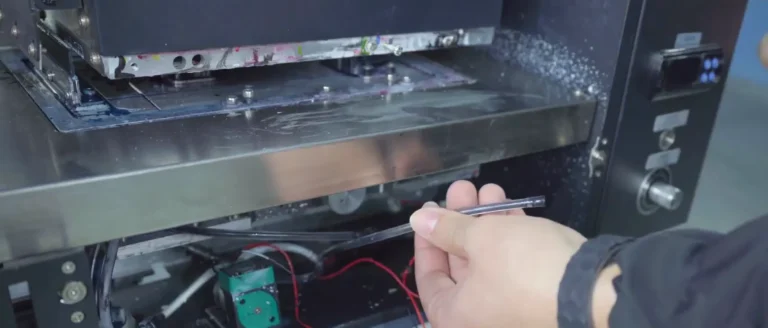
3.1 Place the compatible replacement pump in the original mounting position and secure it with the two screws (See Figure 3.1, left).
3.2 If a tube end is deformed, trim only the damaged end while retaining enough length for the original routing.
3.3 Push both tubes fully onto their matching fittings, using the labels to preserve the original inlet and outlet connections (See Figure 3.1, right).
Step 4. Restore the Wiring and Access Panel
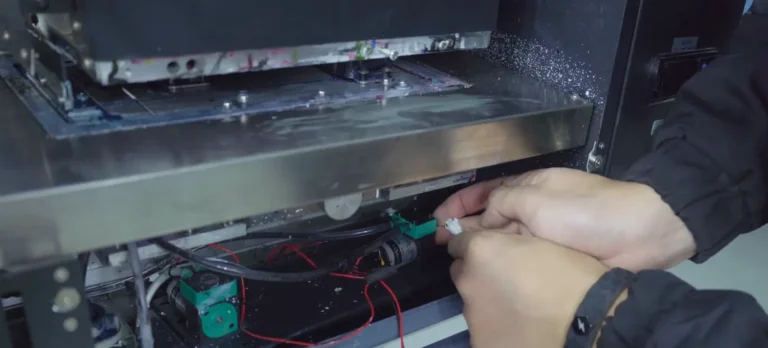
4.1 Reconnect the pump electrical plug and check that its latch is secure (See Figure 4.1, left).
4.2 Check the tubes for secure connections, kinks, and visible leakage. Route the wiring clear of the panel edges.
4.3 Return the access panel to its original position and tighten all four screws (See Figure 4.1, right).

Se você for não tenho certeza sobre alguma etapa, entre em contato com o Equipe de Suporte Técnico da XINFLYING para obter ajuda.
© 2026 Equipe Técnica da XINFLYING. Todos os direitos reservados.
Não reproduza nem modifique este documento sem autorização.
Para obter suporte, entre em contato com: [email protected] | www.xin-flying.com